Integration of certificates in mail programs
Contents
Installation of certificates
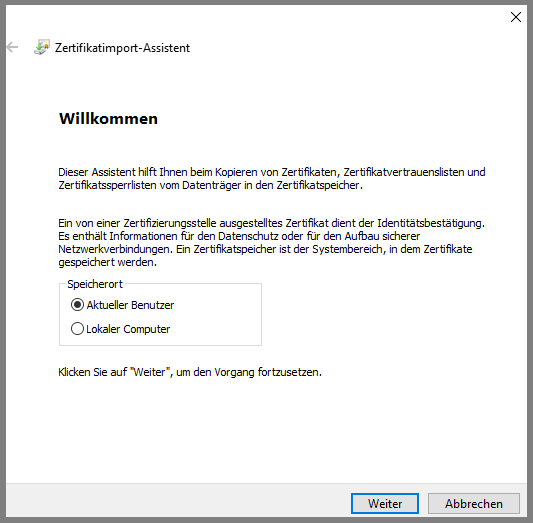
Open the installation wizard by double-clicking on the certificate file. Select "Current user" as the storage location and click "Next".
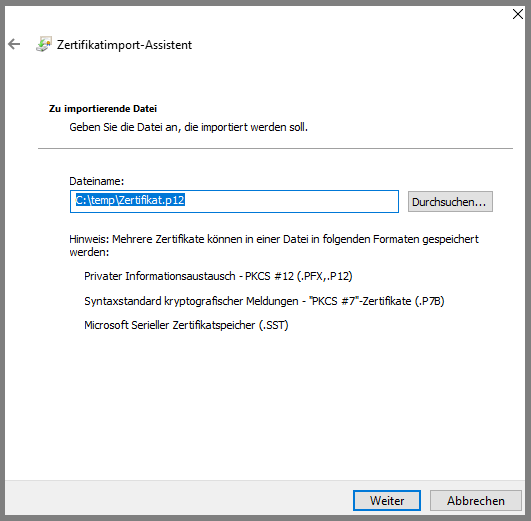
In the next window, also click on "Next".
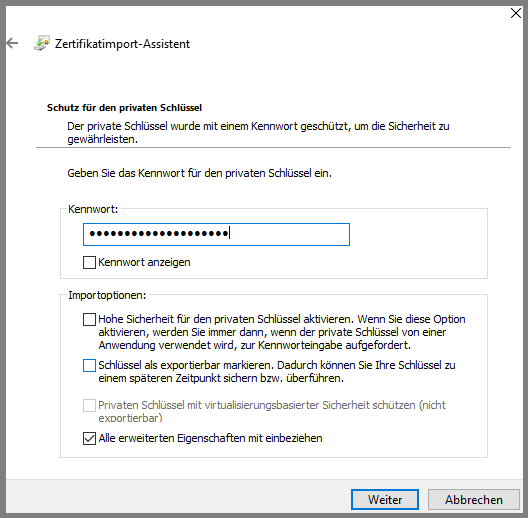
In this window, enter the "certificate pin" that is on the pin letter you received from the ITS when you collected the certificate.
If you created the certificate yourself online, enter the password you set yourself here.
Then remove the tick from "High security ..." if it is set and confirm by clicking on "Next".
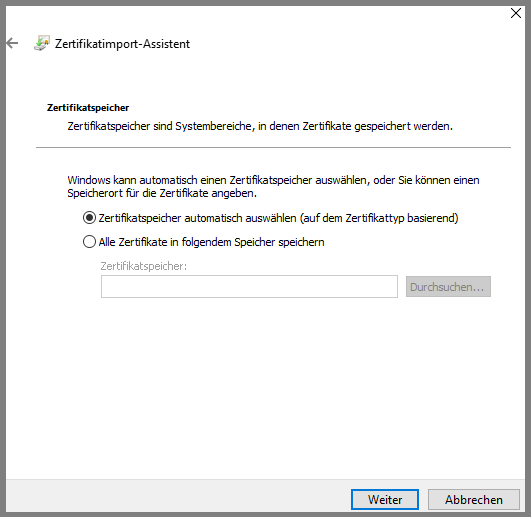
Click on "Next" again in the next window.
This is the penultimate step. Click on "Finish".
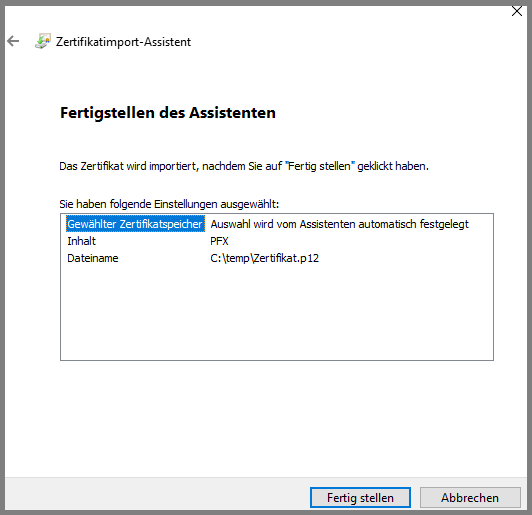
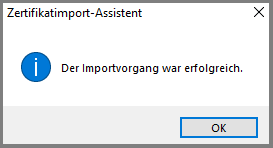
This window opens immediately after completing the installation wizard. Your certificate has now been successfully installed and is ready for further use.
Integrating certificates in Outlook (from 2016)
These instructions show you how to integrate certificates into Outlook 2016. The integration in previous and subsequent versions is similar. Please note that you must first install the certificate before integrating it into the mail client.
Start Outlook. Then click on "File" and in the menu that opens, click on "Options".
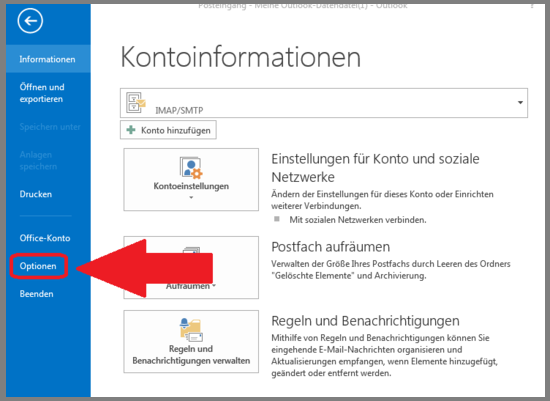
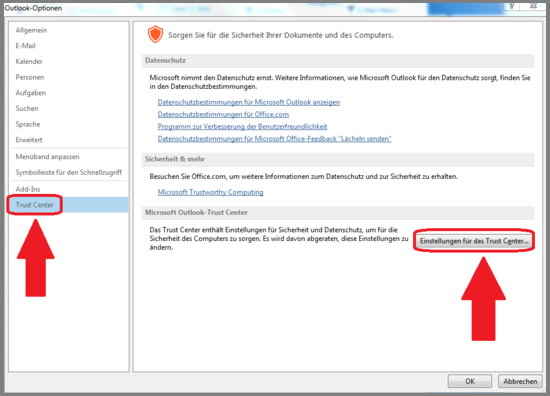
You are now in the Outlook options. In the left-hand menu, click on
- "Trust Center" and then on
- "Settings for the Trust Center..."
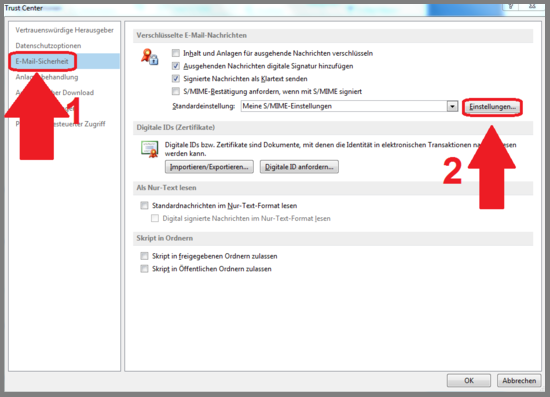
In the "Trust Center" click, again in the left-hand menu, on
- "Email security" and
- then click on "Settings" in the right-hand window.
This opens a small window with the "Security settings". Check here whether your certificate is displayed in the top line under "Name of ..." your certificate is displayed.
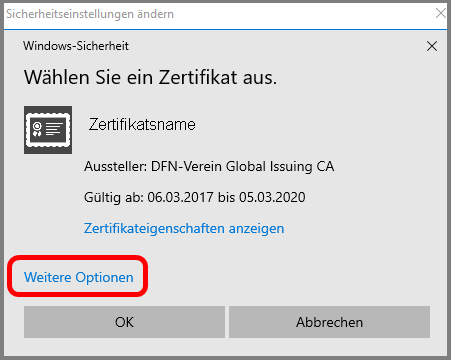
If the certificate is not correct or the old certificate has expired and you want to install a new one, click on "Select".

In the next window, click on "More options".
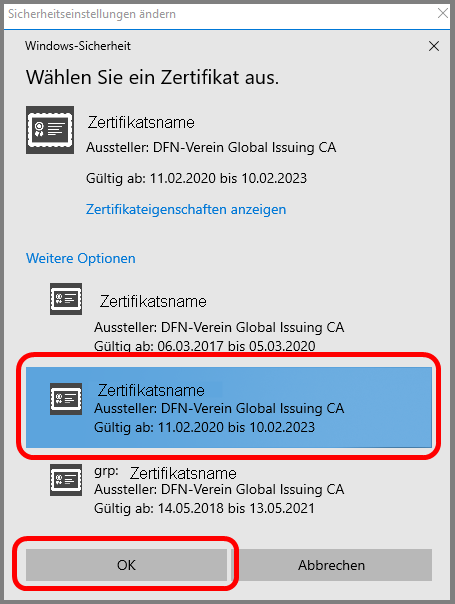
You can now select the desired certificate and confirm with "OK".
Finally, change the hash algorithm to "SHA384".

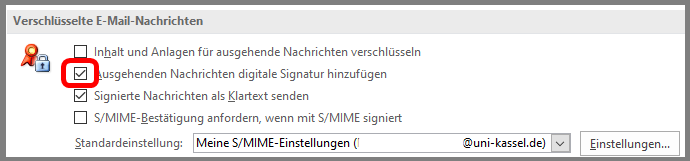
Back in the "Trust Center", check the box "Add digital signature to outgoing messages" and then click "OK".
You are now back in the "Outlook options". Click on "OK". Close this window and you now have the Outlook interface.
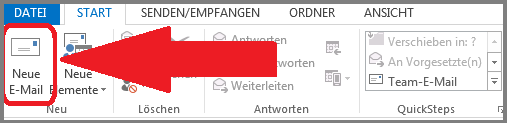
Now click on "Start" and then on "New e-mail".
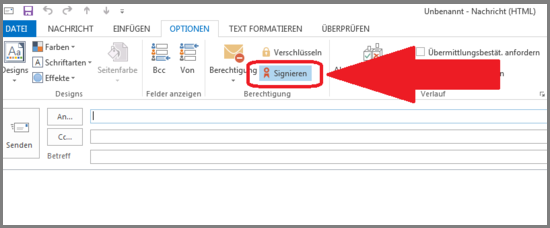
You can now compose your e-mails in this window. Note the symbols marked above. "Sign" should now be the default setting for every e-mail. If you ever want to send an e-mail without a signature, click on "Sign" once and the field will no longer be highlighted in blue.
Please note that if you check Sign, Outlook will want to set the digital signature for all connected accounts. If you have connected another account (secondary account or team mailbox), you will also need a certificate for these accounts.
Integrating certificates in Mac
Open the downloaded ".p12 file" and import the user certificate into the certificate store of your Mac.
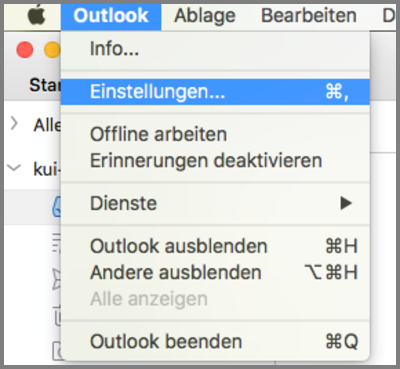
Then go to "Settings" in Outlook.
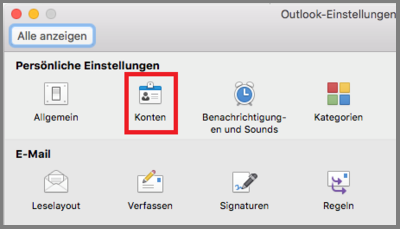
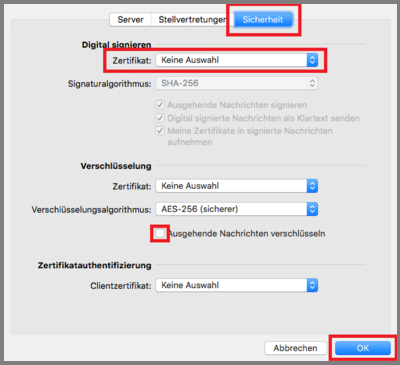
Then click on "Accounts", then on "Advanced" and select the "Security" tab.
You can now select the previously imported certificate.
If you want all outgoing emails to be digitally signed, check the "Sign outgoing messages" box.
Including certificates in iOS Apple Mail
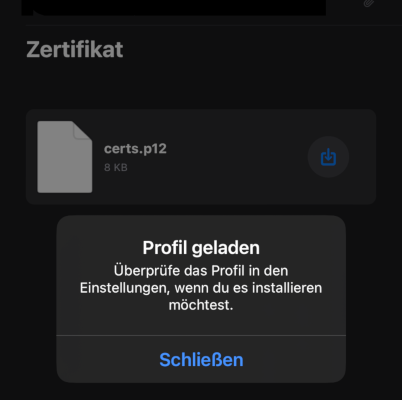
To install the user certificate on your iOS device and integrate it into Apple Mail, first download the certificate file to your device. You can send this to your iPhone by e-mail, for example.
Once you have saved the user certificate on your device, you can click on it and you will receive the message "Profile loaded".
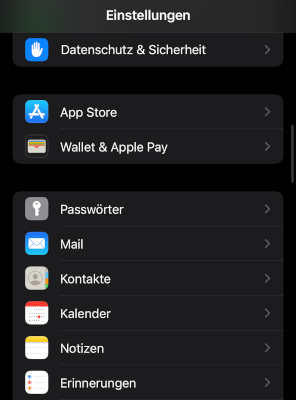
You will now see in the device settings that a new profile is available. Alternatively, you can find the loaded profile by selecting the sub-item "VPN and device management" under "General" in the device settings.
The previously loaded identity certificate is displayed there and the installation can be started by clicking on "Install".

To complete the installation, you will need to enter the code of your iOS device. A warning message will then appear indicating that the profile is not signed. However, this warning can be ignored. Now click on "Install" again. You will now be asked to enter a password. This is the password you chose yourself when you created the certificate. The certificate will now be installed on your device.
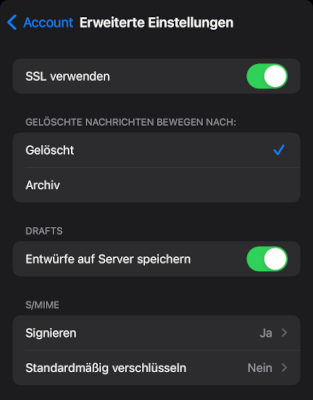
Once the installation of the profile is complete, select the sub-item "Accounts" under "Mail" in the settings and select your connected primary account there.
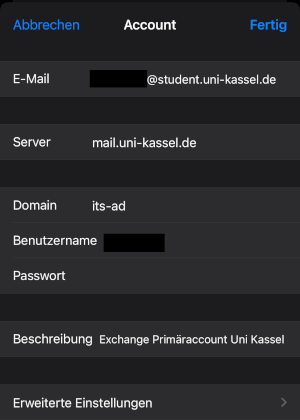
You can then activate "Sign" and "Encrypt by default" under "Advanced settings".
Including certificates in Thunderbird
You can now use this certificate to digitally sign and encrypt your emails. In the following, you will learn how to integrate your certificate into an e-mail program using Thunderbird as an example.
Start your e-mail client (e.g. Thunderbird). Now open the settings menu. If you do not see the top bar "File / Edit / etc...", press the "Alt" key and click on "Extras -> Settings".
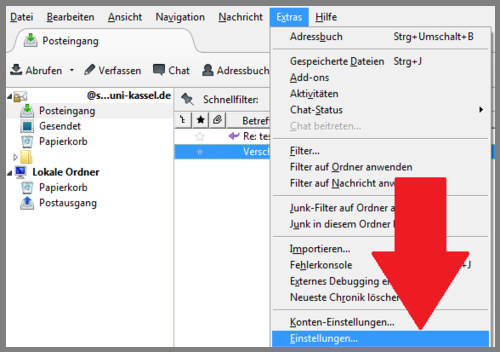
In the settings menu, click on"Advanced" and then on "Certificates".

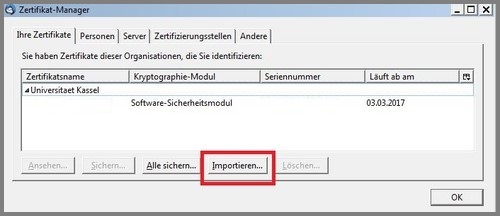
In the Certificate Manager, click on the "Your certificates" tab and then on "Import...". Now select your previously saved certificate and click on "Open".
In the password prompt, enter the password that you assigned when exporting.
Finally, click on "OK".
Congratulations! Your certificate has now been imported.
To be able to send certified emails, you must first activate it.
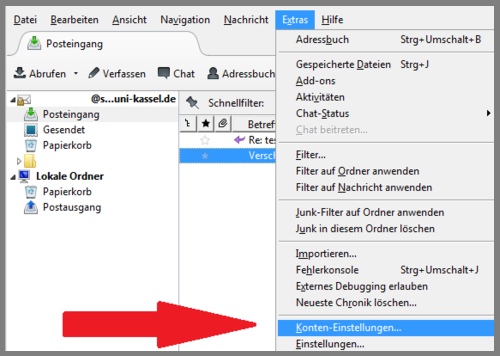
To do this, open the account settings: "Extras" -> "Account settings"
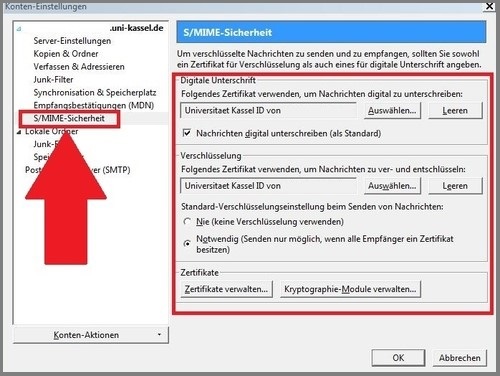
In the account menu, select "S/MIME security" in the left-hand column, whereupon this menu opens. In the right-hand menu, you can specify your certificate both for the digital signature and for encryption by clicking on "Select".
Complete the process by clicking on "OK".
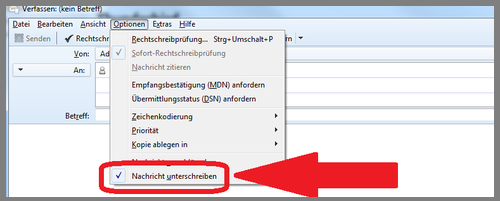
When you now compose an email, these emails are encrypted or signed with the certificate.
You can check the relevant settings by clicking on "Options".
Integrating certificates under Android
To integrate the user certificate under Android, first download it to your device, preferably by sending it to yourself as an email on your smartphone.
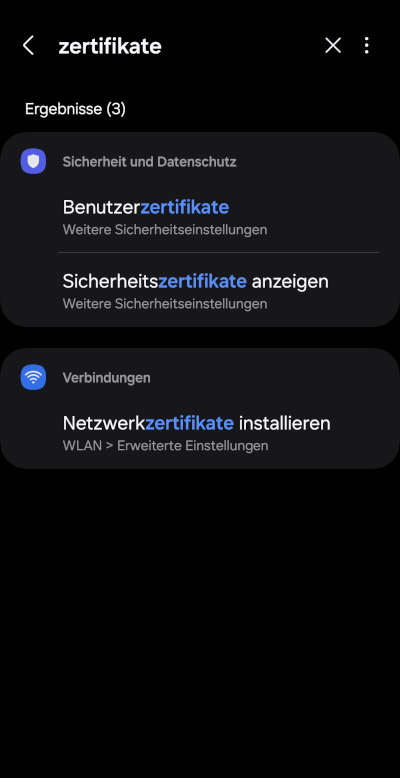
Then open the security settings for the user certificates in your device settings under the "Security and privacy" tab. Alternatively, you can use the search bar at the top of your settings and search for "Certificates".
Once you have opened the settings for your user certificates, please click on the option "Install from device storage".
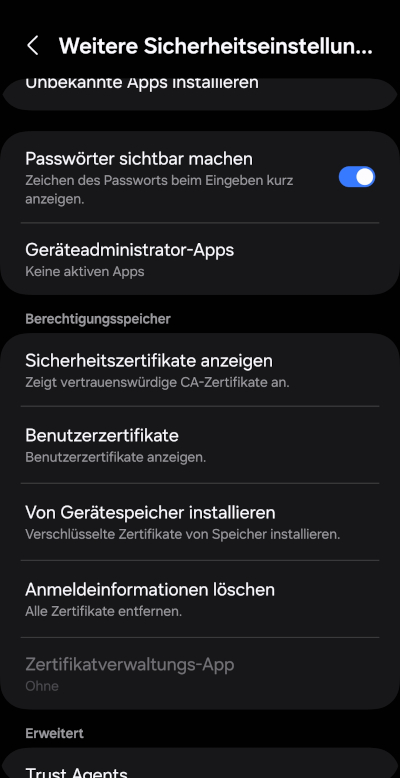
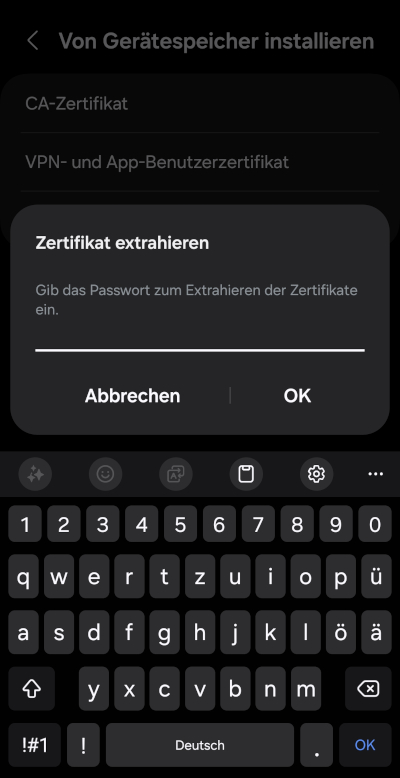
Select "VPN and app user certificate" as your certificate type.

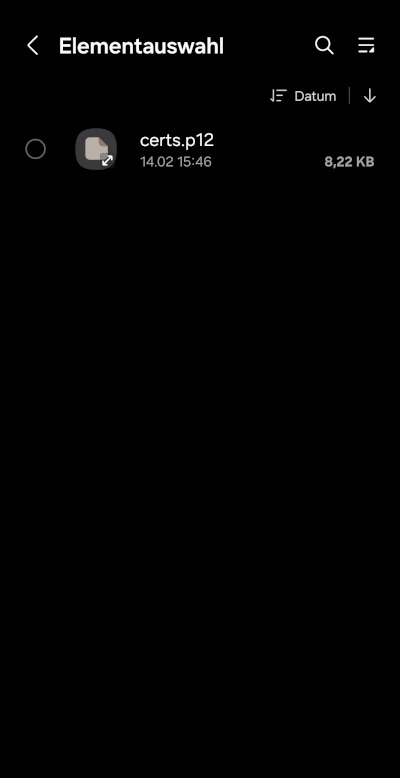
After selecting the certificate type, the file system of your smartphone is displayed, navigate to the storage location of your certificate file and select it.
You will now be asked for the password you specified when creating the certificate, which you enter before clicking on "OK".
To complete the installation, enter a name for your certificate. It is advisable to use your own name here.

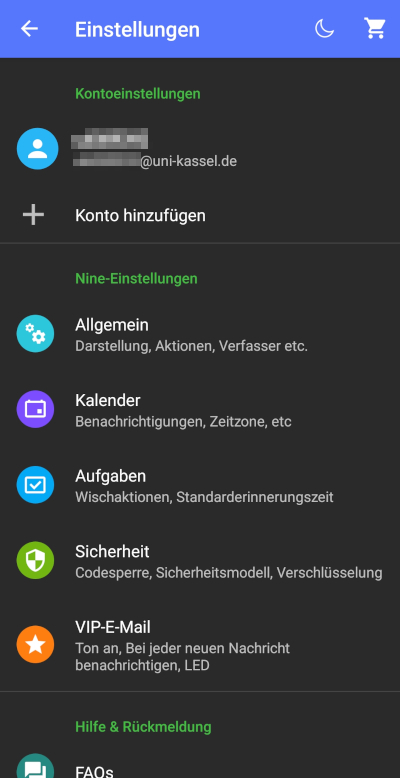
To be able to use the installed user certificate, open the settings of your mail app and navigate to your account settings. You can open these by clicking on the connected account.
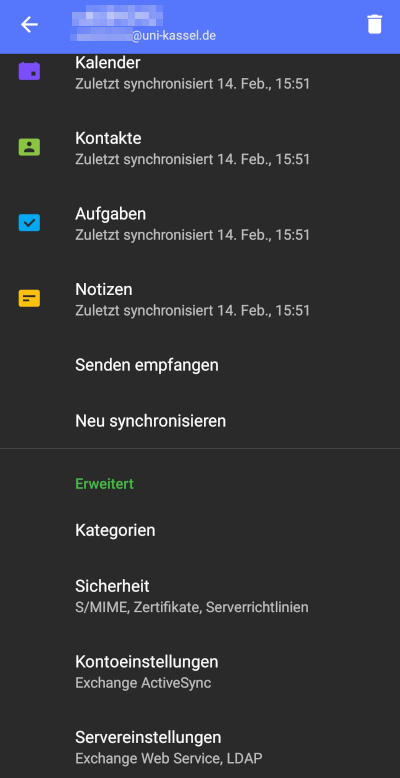
In the account settings, you can find your security settings under the heading "Advanced" and open them by clicking on "Security".
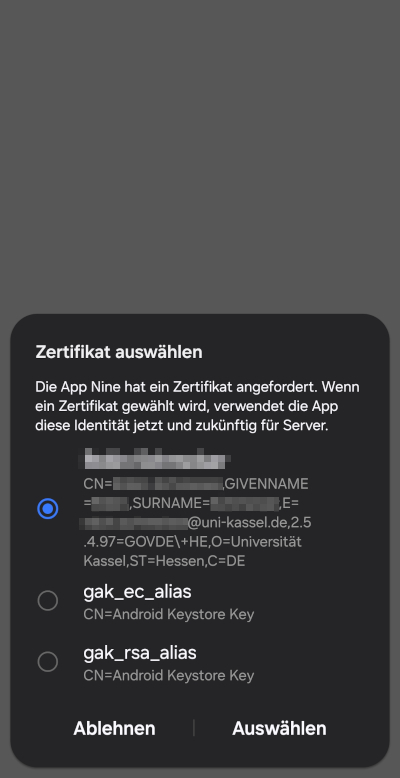
In these settings, search for the settings for security certificates. Under "Signature certificate", you can import all the certificates you have installed.
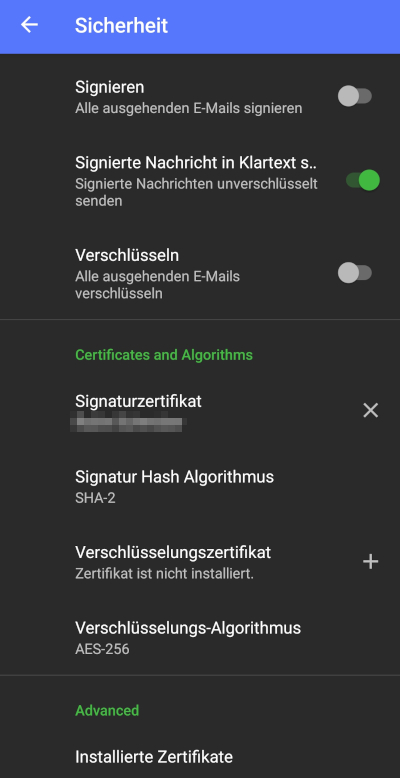
You can now select the certificate of the University of Kassel from the list that is displayed when you click on "Signature certificate".
Finally, make sure that the "Sign" function in your mail app is also activated for all emails.

Recognize encrypted and digitally signed emails
Two symbols indicate whether an e-mail has been signed or encrypted using a certificate. These symbols are visible when you open the email.
- Envelope: This email has been digitally signed with a certificate
- Lock: This email has been encrypted with a certificate

Go-Link of this page: https://www.uni-kassel.de/go/mailzertifikat-einbinden