User groups and authorizations
You have the option of working with several people on a survey and assigning individual rights within a group. This page explains the steps using a newly created user group.
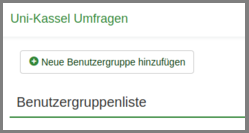
Create user group
First create a user group. To do this, click on "Configuration" in the menu bar at the top. Then click on "Users" and then on "Add new user group".

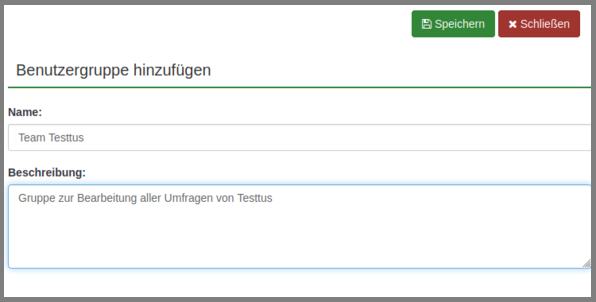
Now give the new user group a suitable name and add a description.
Then click on "Save" to create the user group.
Survey authorizations
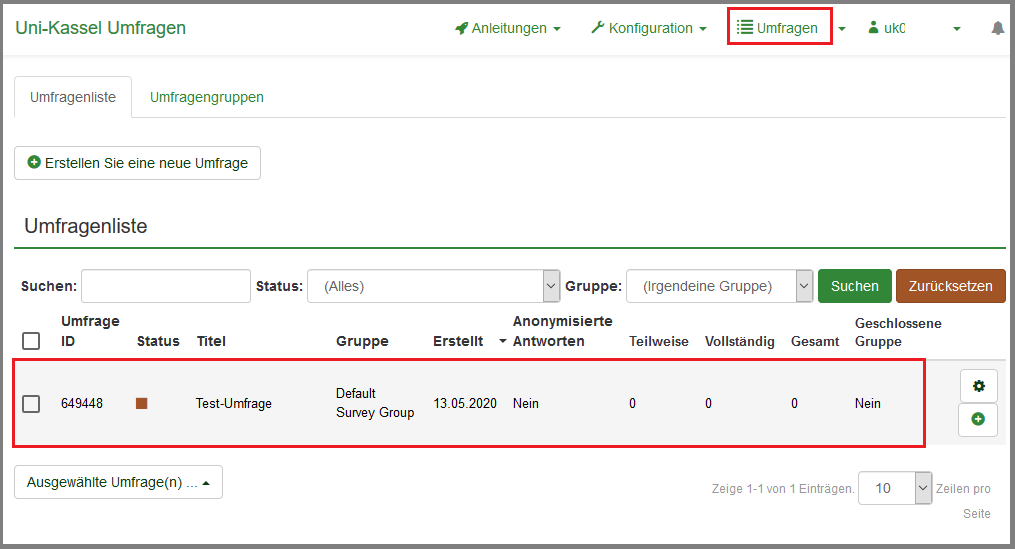
To set the authorization for a current survey, go to "Surveys" in the top menu and then click on the line of the corresponding survey.
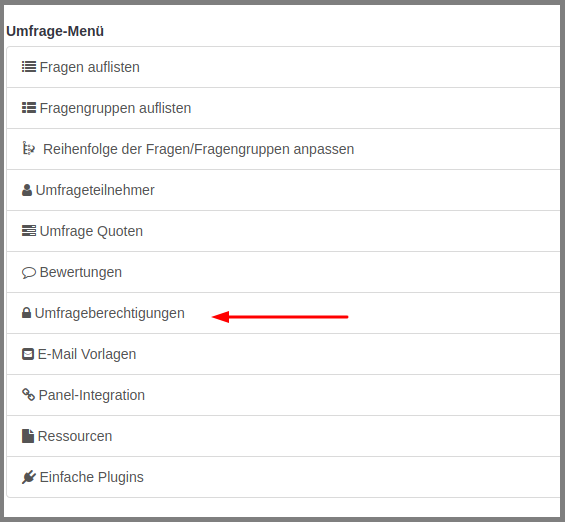
In the survey menu on the left-hand side you will find the item "Survey authorizations". Click on the item so that you can make the appropriate settings.
Another menu will now open. You will be prompted to select either individual users or a user group for editing.
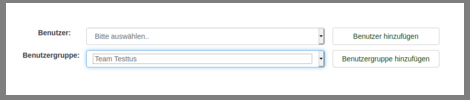
People who are to participate in your survey and are not yet registered with LimeSurvey do not need to submit an application to ITS. A one-time registration with LimeSurvey using the UniAccount is sufficient for them to be added to your group.
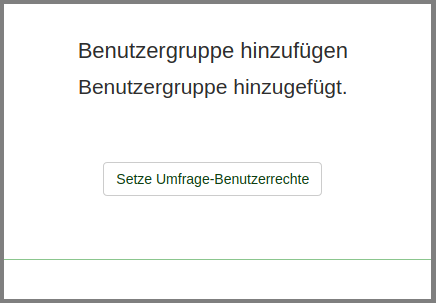
Once you have added the user group, you can then set the permissions for the people who are to work on your survey. To do this, please click on "Set survey user rights".
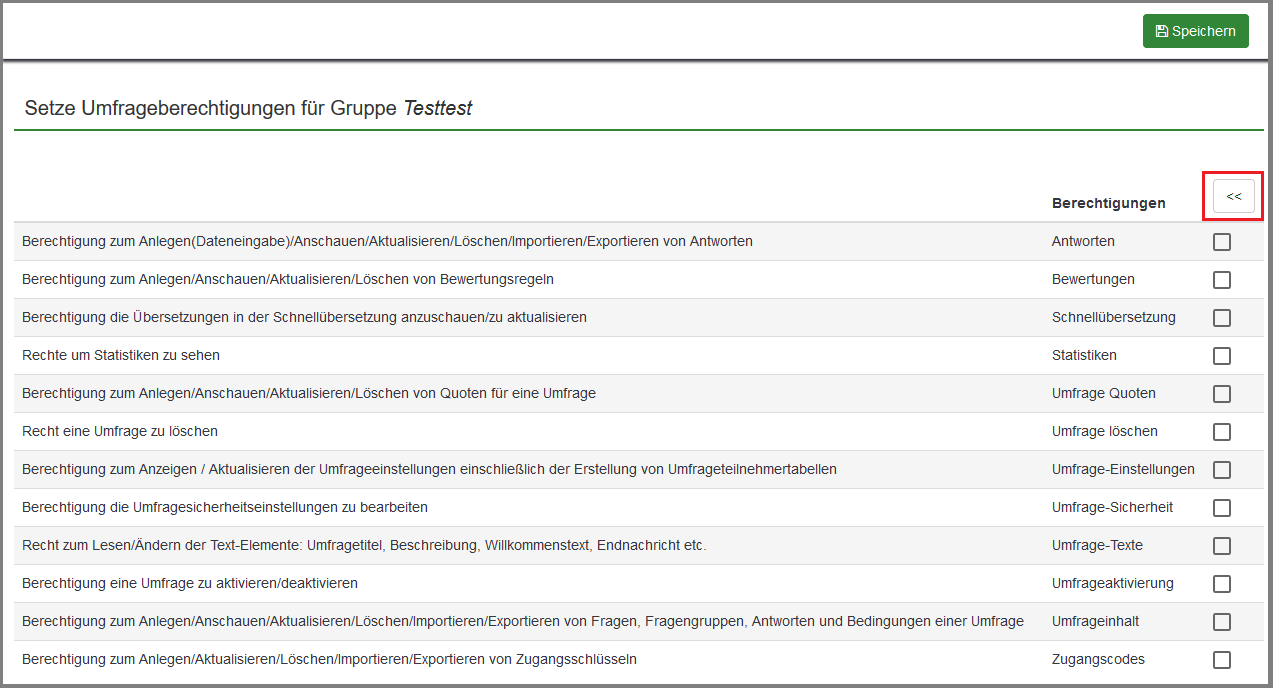
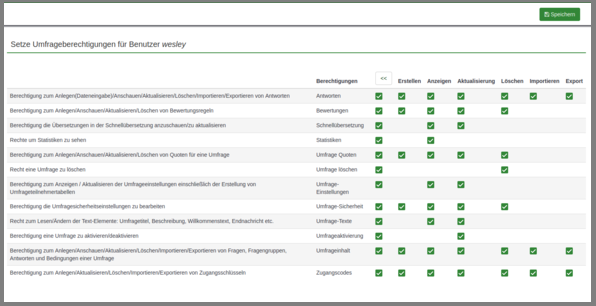
Another menu opens. Here you can individually set the authorizations for the members of the user group. If you click on the "<<" button marked in the image, you will be shown the individual authorizations that you can assign to the respective actions described.
Then click on the "Save" button at the top right of the screen.
Go-Link of this page: https://www.uni-kassel.de/go/limesurvey-benutzergruppen