Setting up the Nextcloud client
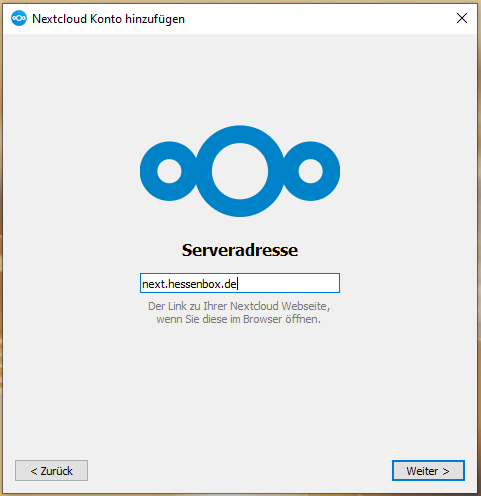
First start the client, click on "Log in" and enter the address https://next.hessenbox.de in the next window. Then click on "Next".
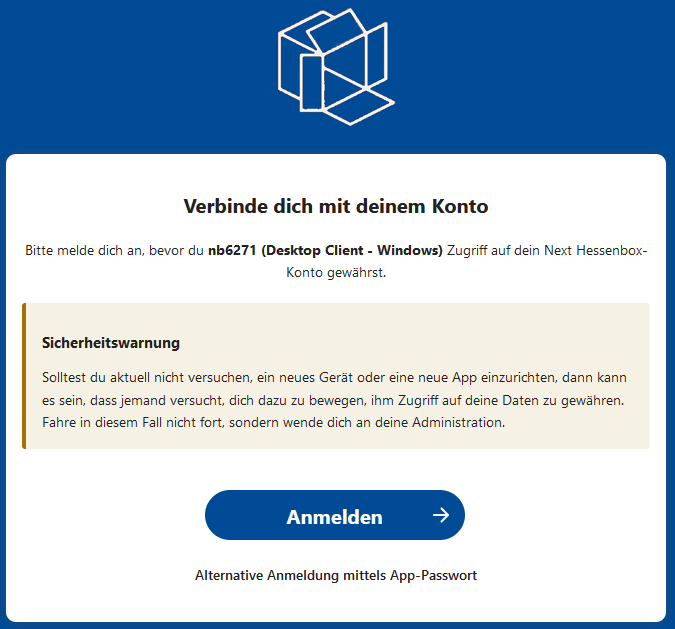
The next step is a check via the server to connect the client to your account.
To do this, click on "Login" and log in with your UniAccount <ukxxxxxx> and the corresponding password.
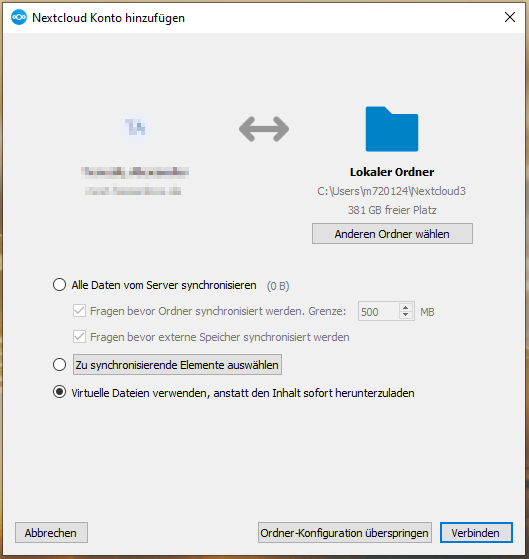
In the next step, you can set the behavior of the client:
- Synchronize all data from the server: all data is kept both on the server and locally on your computer
- Select elements to be synchronized: You can specify which data is synchronized to your computer
- use virtual files instead of downloading the content immediately: the files initially only remain on the server and are only synchronized when required
Finally, click on "Connect" to complete the process.
As soon as the following message appears, the client is linked to your account.
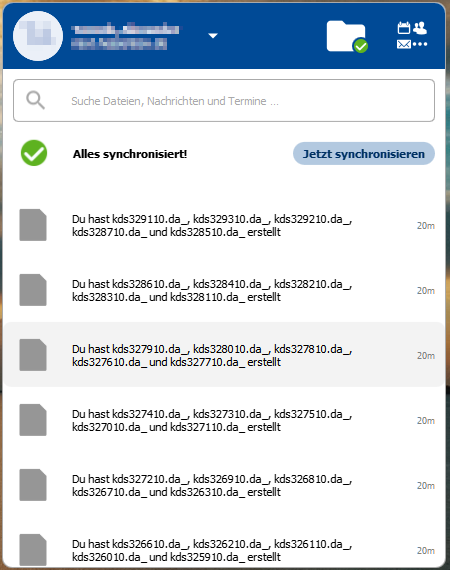
At the bottom right of your desktop, you will see the client window with an overview of recent activities.