Manage notes
The content on this page was translated automatically.
Contents
Create notes
There are also various options for creating new notes:
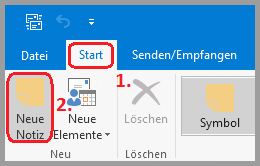
- Under "Register"
Go to the "Start" tab at the top of your Outlook 2016 window and click on "New note" in the ribbon.
- with key combination
Of course, it is also possible to work with a key combination here: Ctrl + N
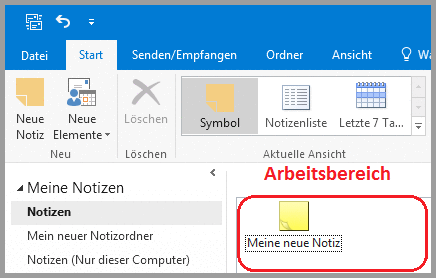
- with double-click
The quickest way is to double-click, simply double-click in the workspace and a new note will open directly.
Forwarding notes
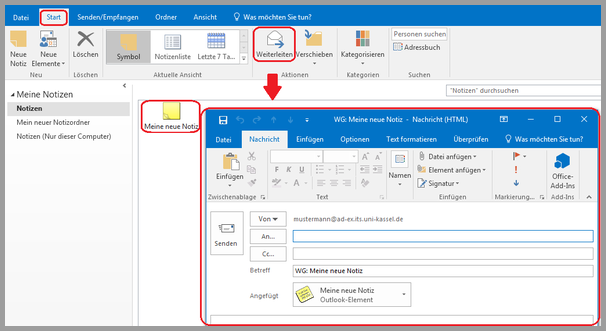
Just like appointments, notes can also be forwarded.
To do this, select the desired note and click on "Forward" under the "Start" tab.
Then proceed as you would with a normal e-mail.
Organize notes via folders
In the now open notes view, you will see the "My notes" item in the navigation bar, below which is the "Notes" folder set up by default.
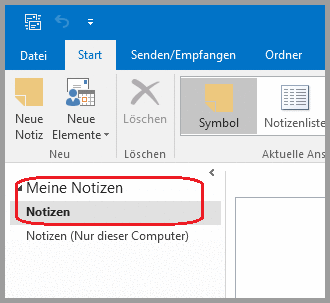
You can store your notes in this folder or create new folders. There are 3 different ways to do this:
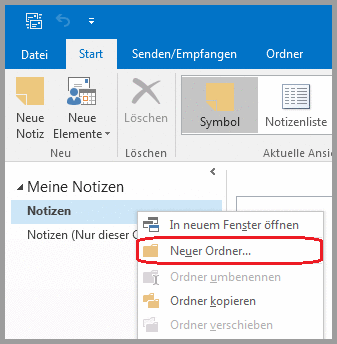
- via right-click
Right-click in the area behind the standard folder to open a context menu. Select "New folder..." and give it the desired name in the window that opens.
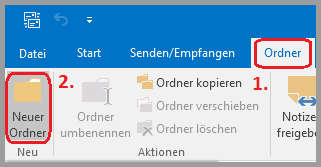
- via "Register"
At the top of your Outlook 2016 window, you will see tabs. Switch to the "Folder" tab.
Here you now also have the option of creating a new folder, renaming, copying, moving or deleting existing folders.
- with key combination
If you often work with note folders, it may be worth remembering the key combination "Ctrl" + "Shift" + "E", which is also a way of creating a new folder.
Organize notes via colour categories
Just as you have already seen with appointments and contacts, you can also assign color categories to your notes.
You can choose from a range of standard categories or create your own.
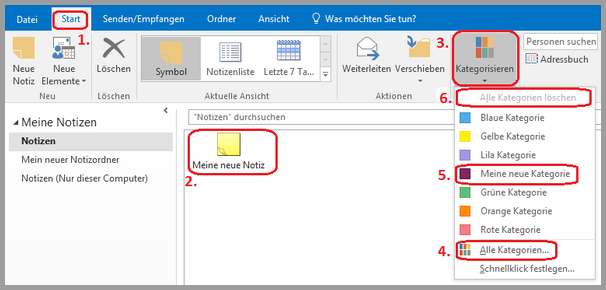
To assign a color to a note, go to the "Start" tab (1), click once on the desired note (2) and then go to the "Categorize" tab (3). The context menu then shows you the selectable categories, which are named by color by default. However, you can rename these names under "All categories..." (4) or add further names, such as "My new category" (5).
If you want to remove the color category again, click on the note again and select "Delete all categories" (6) in the "Categorize" tab.