Assign and manage authorizations
Manage users and groups
To create authorizations for specific users, please click on the cogwheel icon in the top right-hand corner. A list will open. Please select "Website settings".

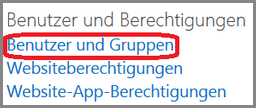
In the "Website settings" under "Users and authorizations", please select "Users and groups".
This example is used to create authorizations for a user in the Documentation group. The same procedure applies to the Visitor and Owner roles.
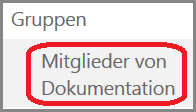
On the left-hand side, you will now find "Groups"and below that the item "Members of documentation". As a member of a group, you can edit documents. Please click on "Members of documentation".
Add new member
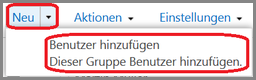
Please click on "New". A small list will open in which you can click on "Add user".
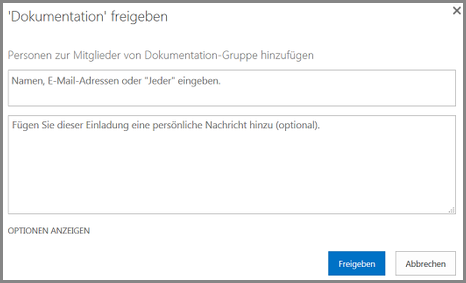
You will be asked whether you would like to share the Documentation area, for example. To do this, you must enter the following under "Add people to the members of the documentation group":
- In the Name, e-mail address or "Everyone" field, please enter a UniAccount <ukxxxxxx>
- Optionally, you can add a personal message to this invitation.
- Finally, click on "Share".
Perform user actions
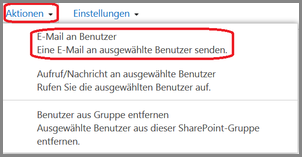
Before you start an action , please first select the relevant person from the list by ticking the box. Click on "Actions" and then on "E-mail to user".
Your e-mail program will then open. Here you can create and send an e-mail as usual.
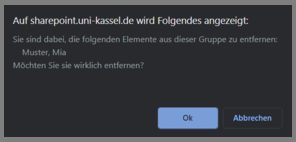
If you would like to remove a member from the group, please click on "Actions" and then on "Remove user from this group".
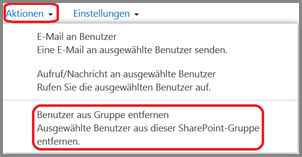
You will be asked whether you want to remove the selected person from this group. If you click on "OK", the action will be carried out accordingly. If you click on "Cancel", the process is canceled.