Mailing list administration under Sympa
Contents
General
The IT Service Center operates a central server for the administration of mailing lists, which is based on the server software "Sympa". In this article you will find all the important information for operators and administrators when using Sympa. One of the major advantages of Sympa is the user-friendly configuration via the web interface.
Administration menu
Once you have logged in to the website < https://lists.its.uni-kassel.de >, you can edit your lists and make some settings as an administrator.
To do this, move the mouse pointer to the "accountname@uni-kassel.de" option at the top right and then click on "My lists".

Your list overview will open. This shows you lists for which you are the owner (administrator), moderator or subscriber.
To access the corresponding administration menu, click on a list of which you are the owner (your role is shown in brackets after the respective list).

The "List main page" will now open. Here you will first find an overview of typical administrative options for your list. You can either click on "Administration" on the left-hand side (a) or click on the linked options on the right-hand side (b) to access the basic administration menu (either way).
The red menu bar allows you to access the various options for configuring your list. These include the management of subscribers, owners and moderators of the list, which can be accessed under the menu item "Users" or the general configuration of the list, for example the visibility, which can be accessed under "Edit list configuration".
Below we explain how you can make typical settings, such as managing subscribers, for your list.


Visibility of the list
As a list administrator, you have the option of setting the visibility of your list. This means that your list can be visible to everyone, only to your subscribers or to no one but you.
To set the visibility of your mailing list, click on "Edit list configuration" in the red menu bar and then click on "List definition".

The list definition page opens. In addition to the visibility setting for the list, you can also define the topic of the list or subsequently change the title of the list here. To set up the visibility of your list, click on the "List visibility" button. You can select the following options here:
- visible: Your list is visible to everyone and can be found when searched for.
- only visible to subscribers: Your list is only visible to your subscribers.
- invisible - even for subscribers: No one but you can see your list.
Once you have made and completed your changes, click on the blue "Update" button at the bottom.

Mail settings
As an administrator, you also have the option of making settings for sending and receiving messages for your mailing list.
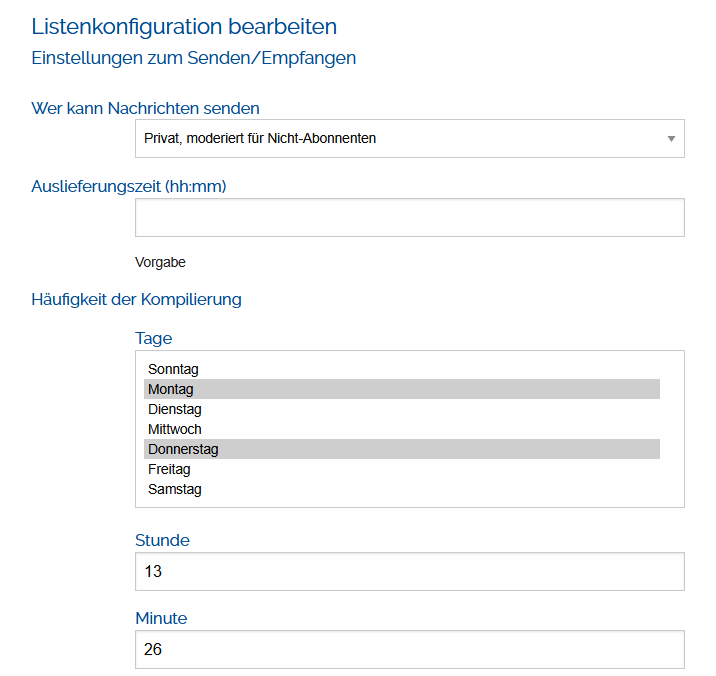
To access the corresponding settings, first click on "Edit list configuration" and then click on "Settings for sending/receiving".

In the overview that now opens, you can make various settings for sending/receiving messages from/from your list. You have the following options to choose from:
- Who can send messages: Here you can set who can send messages from this list.
- Delivery time: Setting when the message is sent, e.g. for a newsletter.
- Compilation frequency: Settings for the day(s) on which a summary of the sent/received messages is created.
- Maximum number of messages per summary: You can set the maximum number of messages for a summary (compilation) here.
- and some other options
Once you have made and completed your changes, click on the blue "Update" button at the bottom.
Privilege settings
As an administrator, you can set certain privileges in your list. Among other things, these affect who can subscribe to your list, see the list information or invite people to the list.
To access the privilege options, click on "Edit list configuration" in the red menu bar. Then click on "Privileges".

You are now in the overview of the privilege settings. Here you will see the following options, among others:
- Who can view list information: Here you can set who can view the list information. You can make it visible to everyone or restrict it to subscribers.
- Who can subscribe to the list: Here you can set up who can subscribe to your list and what happens when they join the list, e.g. sending a welcome email.
- Who can unsubscribe: Settings for who can unsubscribe from your list and whether this may require confirmation from the owner.
- Who can invite people: Setting who can invite people to the list.
- Who can list subscribers: You can determine who can list subscribers.
- and other options
Once you have made and completed your changes, click on the blue "Update" button at the bottom.

Manage subscribers
As an administrator, you can add subscribers yourself and also use the Sympa web interface to see whether subscriptions/unsubscriptions to your list exist and whether you need to confirm them.
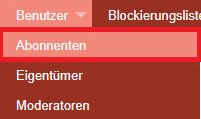
To access these settings, move the mouse pointer to "Users" in the red menu bar and then click on "Subscribers".
Add/remove subscribers
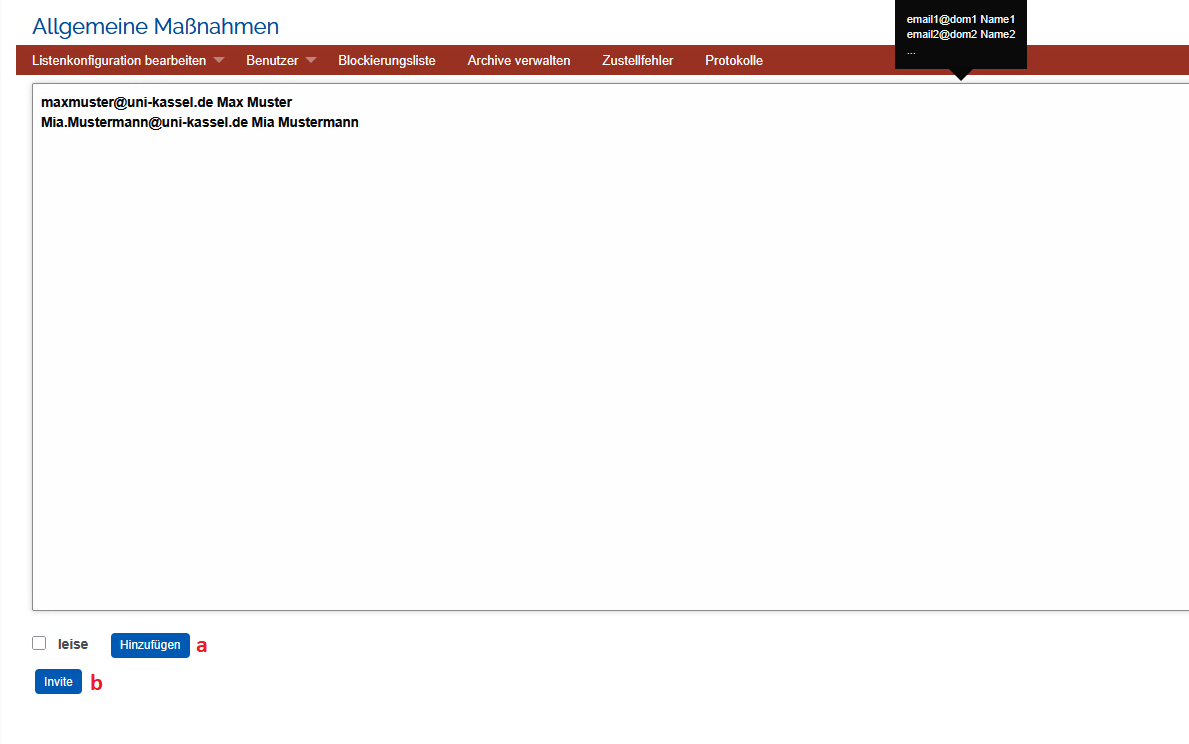
The page for managing your subscribers will now open. Here you can view unconfirmed subscriptions/unsubscriptions to your list, the list of blocked users and delivery errors. You can also view the list of people you may have excluded from your list. Click on one of the blue buttons at the top of the page under the heading "Administration menu" for one of the options just mentioned.
The "Remind all" button will remind all your subscribers about their subscription to your list.
You can add subscribers yourself on this page. To do this, enter the person's email address in the "Email address" field in the format <accountname@uni-kassel.de>.
Note: The email address entered must be the user's preferred email address! For more information on the preferred e-mail address, see E-mail address and mailbox.
You can now add the person and they will receive a notification. If you do not want to send a notification about the addition, click on the box next to "Still (do not send notification)". Then either click on "Add" to add the person directly or on "Invite" to invite the person to the list.
Further down in the subscriber management, you can search for people in your list of subscribers. You can use the email address or the name to do this.
At the very bottom of the subscriber management you will also see a table in which all subscribers in the list are listed.

Instead of adding subscribers individually, you can also add several people at once. To do this, click on "Add multiple" (see previous screenshot).
In the window that opens, enter the email addresses (in the format < accountname@uni-kassel.de >) and names of the people you want to add one below the other and these people will then receive a notification. If you do not want to send a notification about the addition, click on the box next to "silent". Then either click on "Add" to add the persons directly or on "Invite" to invite the persons to the list.
Note: The email addresses entered must be the preferred email address of the users! For more information on the preferred e-mail address, see E-mail address and mailbox.
Manage owners
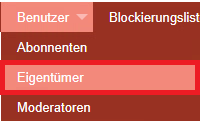
With Sympa, you can easily add further owners to your list via the web interface. To do this, move the mouse pointer to "Users" in the red menu bar and then click on "Owners".
You are now in the owner overview. Here you can see who is the owner of your list next to you and the respective e-mail address and name of the person. You can also see whether the person in question receives a notification email and whether they are visibly listed in the list menu on the left. The box on the far right can be used to remove the person in question. To do this, simply click on the box and then click on the blue "Update" button at the bottom.
You can also add new owners on this page. This works in a similar way to adding subscribers, which was described above. In the "Email address" field, enter the email address in the format < accountname@uni-kassel.de >.
Note: The email address entered must be the user's preferred email address! For more information on the preferred e-mail address, see E-mail address and mailbox.
In the "Name" field, enter the name of the person and then select which owner rights the person may have:
- Privileged owner: Has all rights as the list owner.
- Normal owner: Has fewer rights than the listed owner. For example, cannot add or remove other owners or moderators. Some settings in the privileges or post settings are also not available.
You can also decide whether the new owner of the list receives a notification email and whether they should be listed in the overview on the left.
Once you have made all the entries and settings, click on "Update" and your changes will be applied.


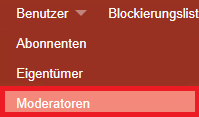
Manage moderators
As a list administrator, you can authorize people as moderators. These people can then manage incoming messages or subscriptions. To manage these moderators, move the mouse pointer to "Users" and then click on "Moderators".
The moderator administration opens. Here you can add or remove moderators. The process is the same as for adding subscribers or owners. Enter the email address in the "Email address" field in the format < accountname@uni-kassel.de >.
Note: The email address entered must be the user's preferred email address! For more information on the preferred e-mail address, see E-mail address and mailbox.
Enter the name of the person in the "Name" field. You can also decide whether the new moderator of the list should receive a notification email and whether he/she should be listed in the overview on the left. Then click on "Update" and the person will be added.
If you would like to remove a moderator, click on the corresponding box to the right of the name in the list (see screenshot of owner management) and then click on the "Update" button. The person will be removed as a moderator.

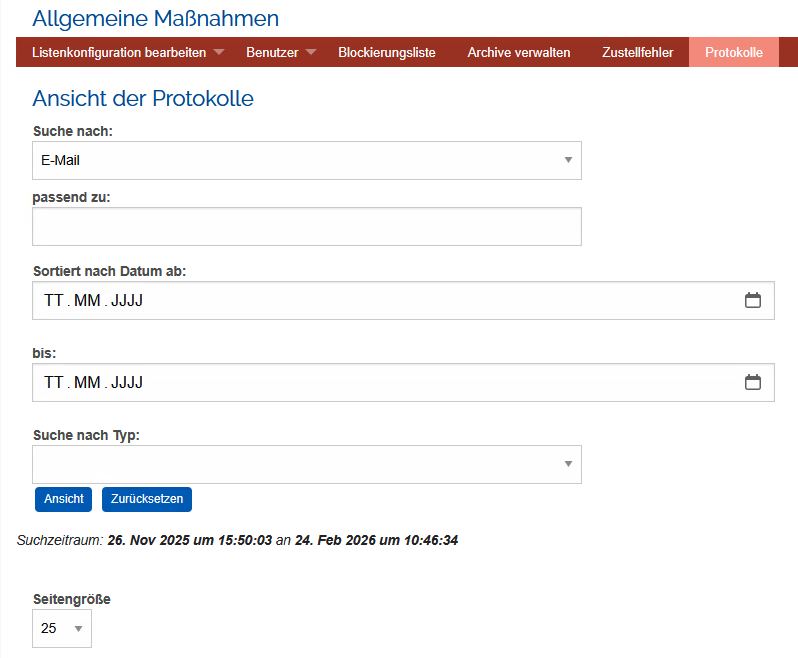
Protocol function
Sympa offers you a so-called log function. This allows you to search for emails that have been sent in this list. You have several categories to narrow down your search:
- Search for: Click on the down arrow in the button on the right, you can choose whether you want to search for an email or the message ID.
- Match to: Enter the topic you are searching for here.
- Sorted by date from: Select the date by which the emails should be sorted here. You can either type it in yourself or select it using the calendar icon.
- To: Select the end date of the period here. Again, you can either type it in yourself or select it using the calendar icon.
- Search by type: If you click on the down arrow on the right-hand side of the button, you can choose from several options as to which email type you would like to search for.
Then click on the button with "Page size" further down and you will receive a list of results based on your specifications.
Go-Link of this page: https://www.uni-kassel.de/go/maillisten-administration-sympa and https://www.uni-kassel.de/go/maillisten-ad ministration