

How to Install Sophos on Windows Clients
Use this guide to install Sophos on your Windows client, step by step.
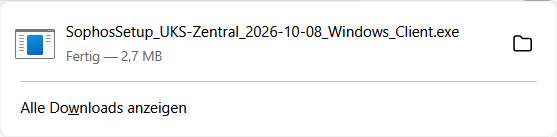
1. Under " Download Sophos," download the installation file "SophosSetup for Windows Clients."

2. Double-click the downloaded file to open it.
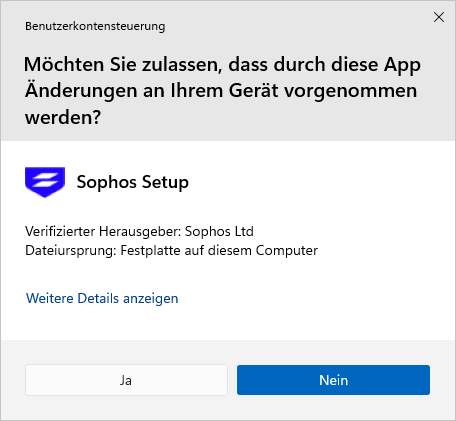
3. Windows will now ask if the program is allowed to make changes to your device. Click “Yes.”
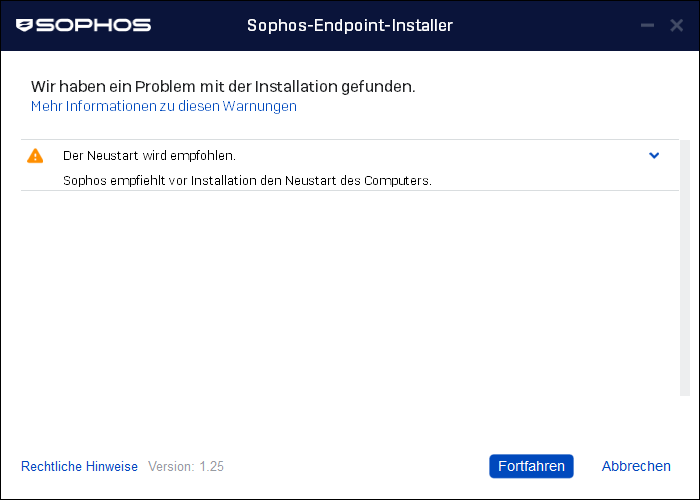
Sometimes Sophos recommends restarting the Windows client before installation. You will then see this message.
Don't see this message? Then proceed directly to step 4.
Click the Windows icon (Start) in the lower-left corner of the screen. Then click the power icon and restart the Windows client.
After the restart, open the “SophosSetup.exe” file again. To do this, repeat steps 2 and 3.
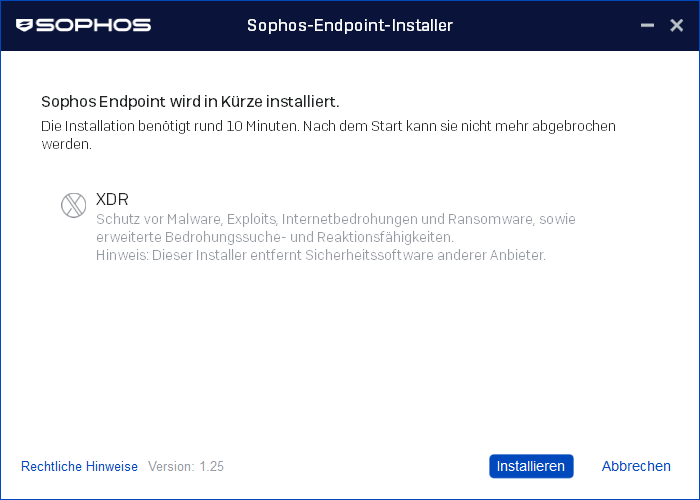
4. Click "Install." The installation will take about 10 minutes.
5. Wait until the installation is complete. The green bar shows you how far along the installation is.
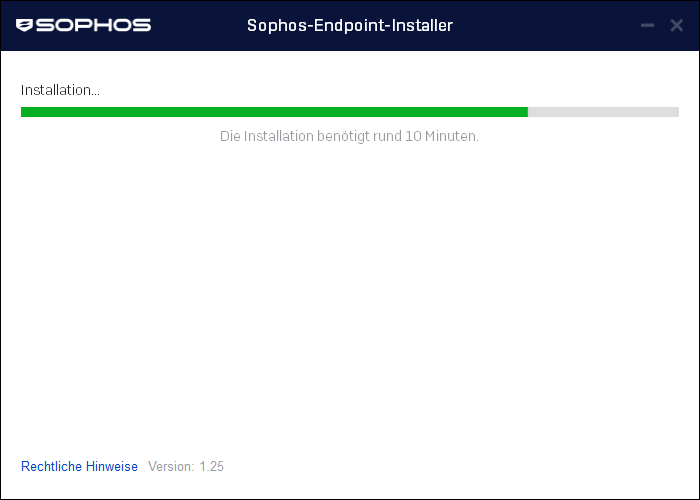
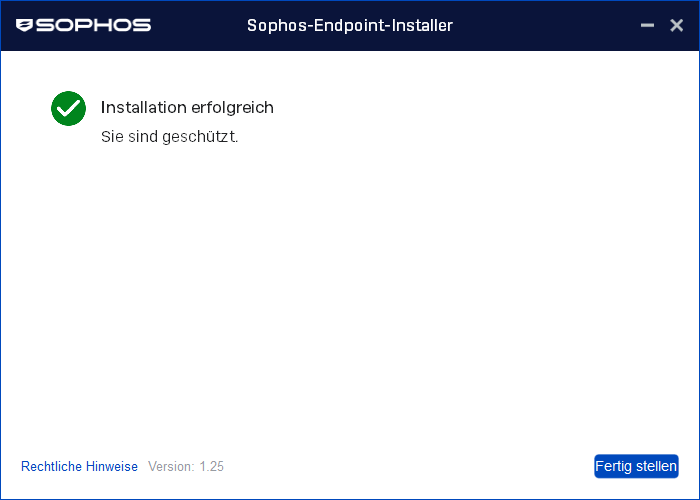
6. As soon as you see the message “Installation successful,” click “Finish.”
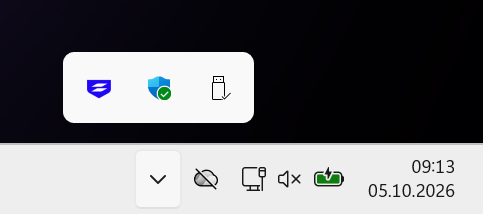
7. Click the small arrow next to the time in the lower-right corner of the screen. A small window with icons will open.
Look for the blue Sophos icon. Do you see it? If so, Sophos has been successfully installed. Your Windows client is now protected.
Go-Link for this page: https://www.uni-kassel.de/go/sophos-anleitung-windows-clients