

Cisco Secure Client under macOS new installation
The content on this page was translated automatically.
First, close all windows of the VPN program.
Then check to make sure the program has actually closed: Press Cmd + Space, type “Activity Monitor,” and press Enter.

If an entry containing "Cisco" appears in the list, select it and close it using the X at the top center.
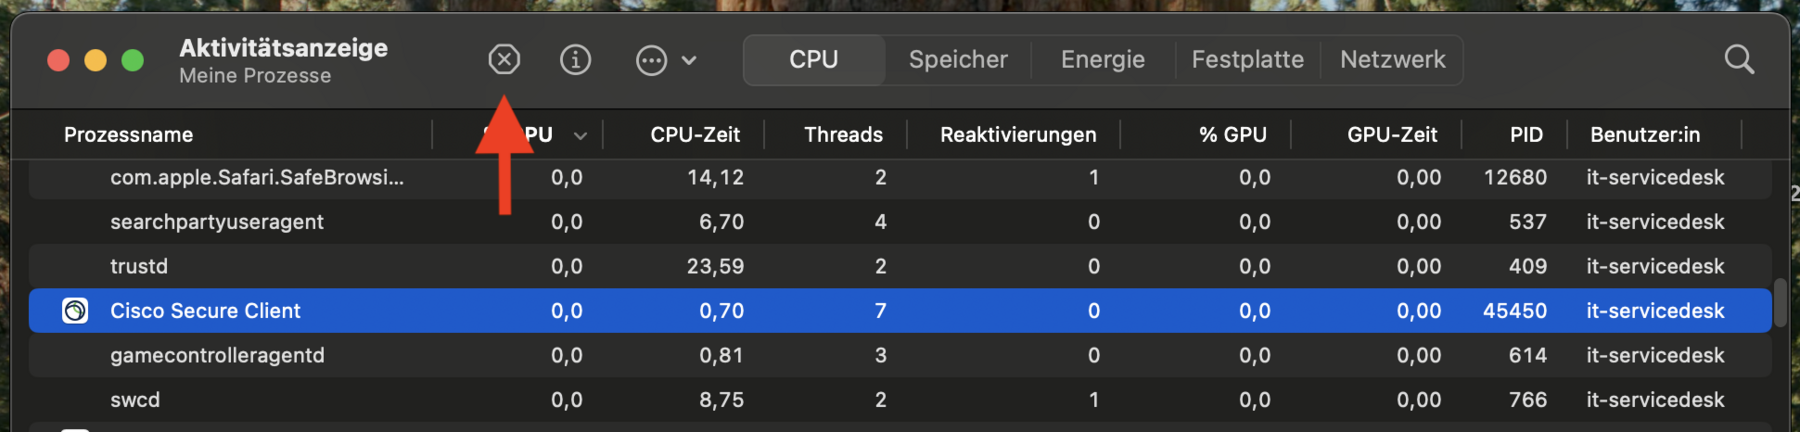
Now delete all Cisco installation files.
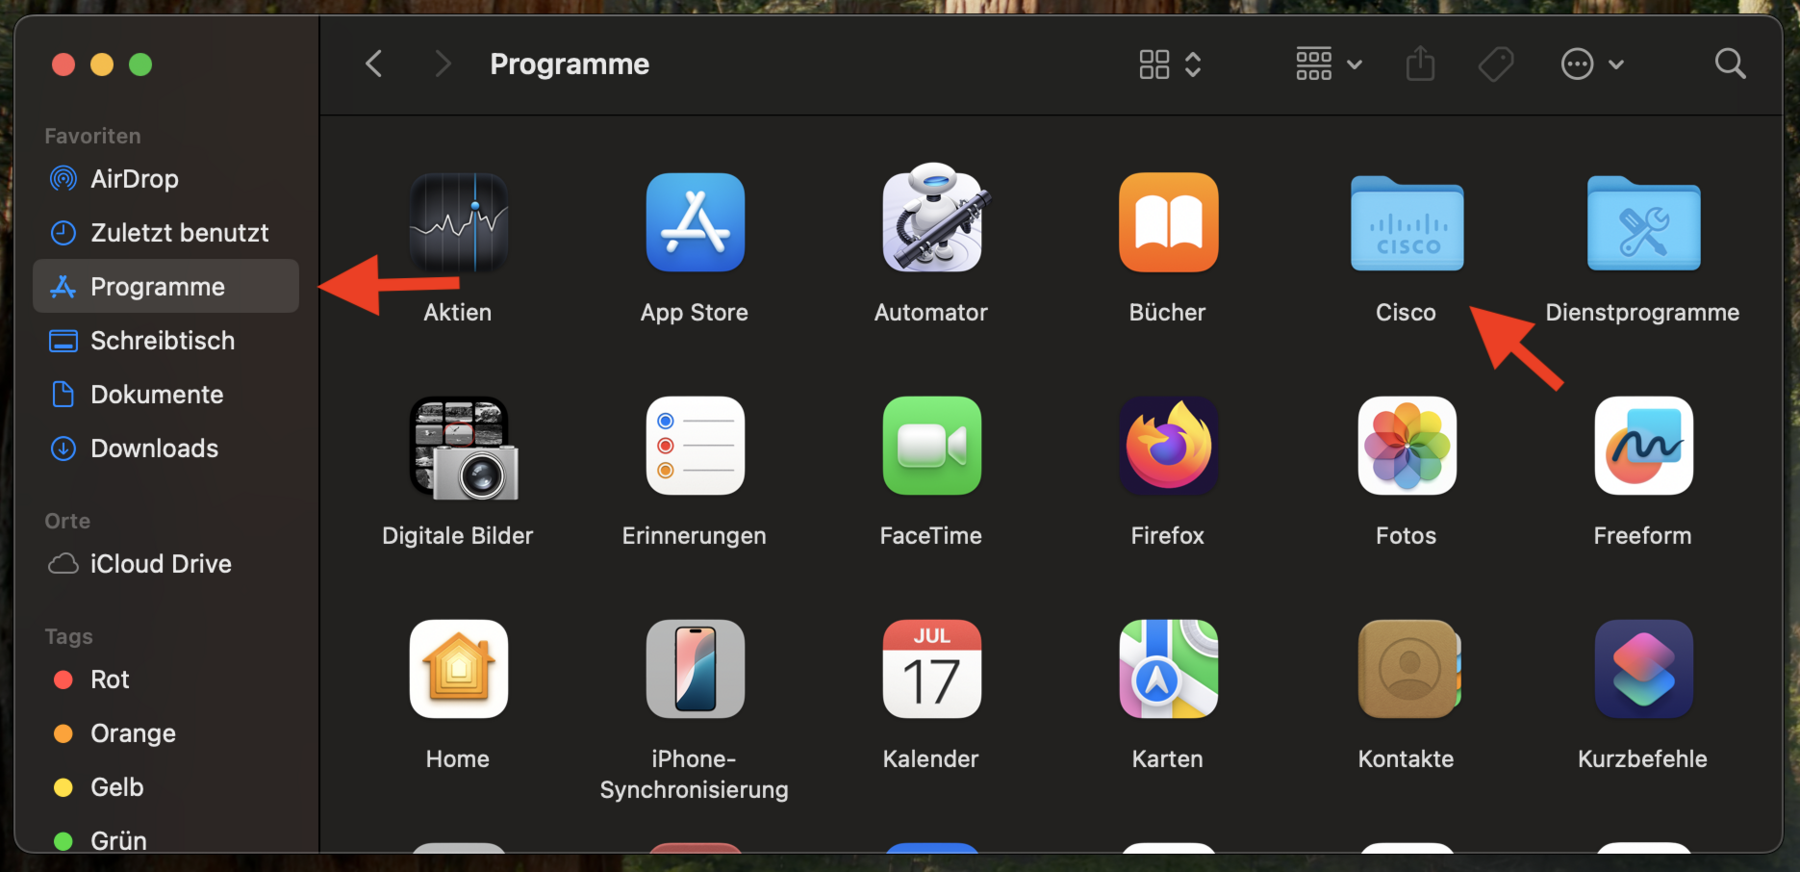
To do this, press Cmd + Space, type "Finder," and press Enter.

Click "Programs" on the left and delete the "Cisco" folder.
Then empty the Trash.
Open Terminal: Press Cmd + Space, type "Terminal," and press Enter.

Enter the following commands one after another and press Enter after each one:
cd /opt/
ls
If no "cisco" entry appears after the "ls" command, the program is not installed.
In this case, you can skip the next two commands.

sudo rm -r -f ./cisco/anyconnect/
sudo pkgutil --forget com.cisco.pkg.anyconnect.vpn
For commands with “sudo,” you’ll be prompted for your Mac password.
Your keystrokes won’t be visible—this is normal.
Then download the VPN program again, install it, and restart your Mac.

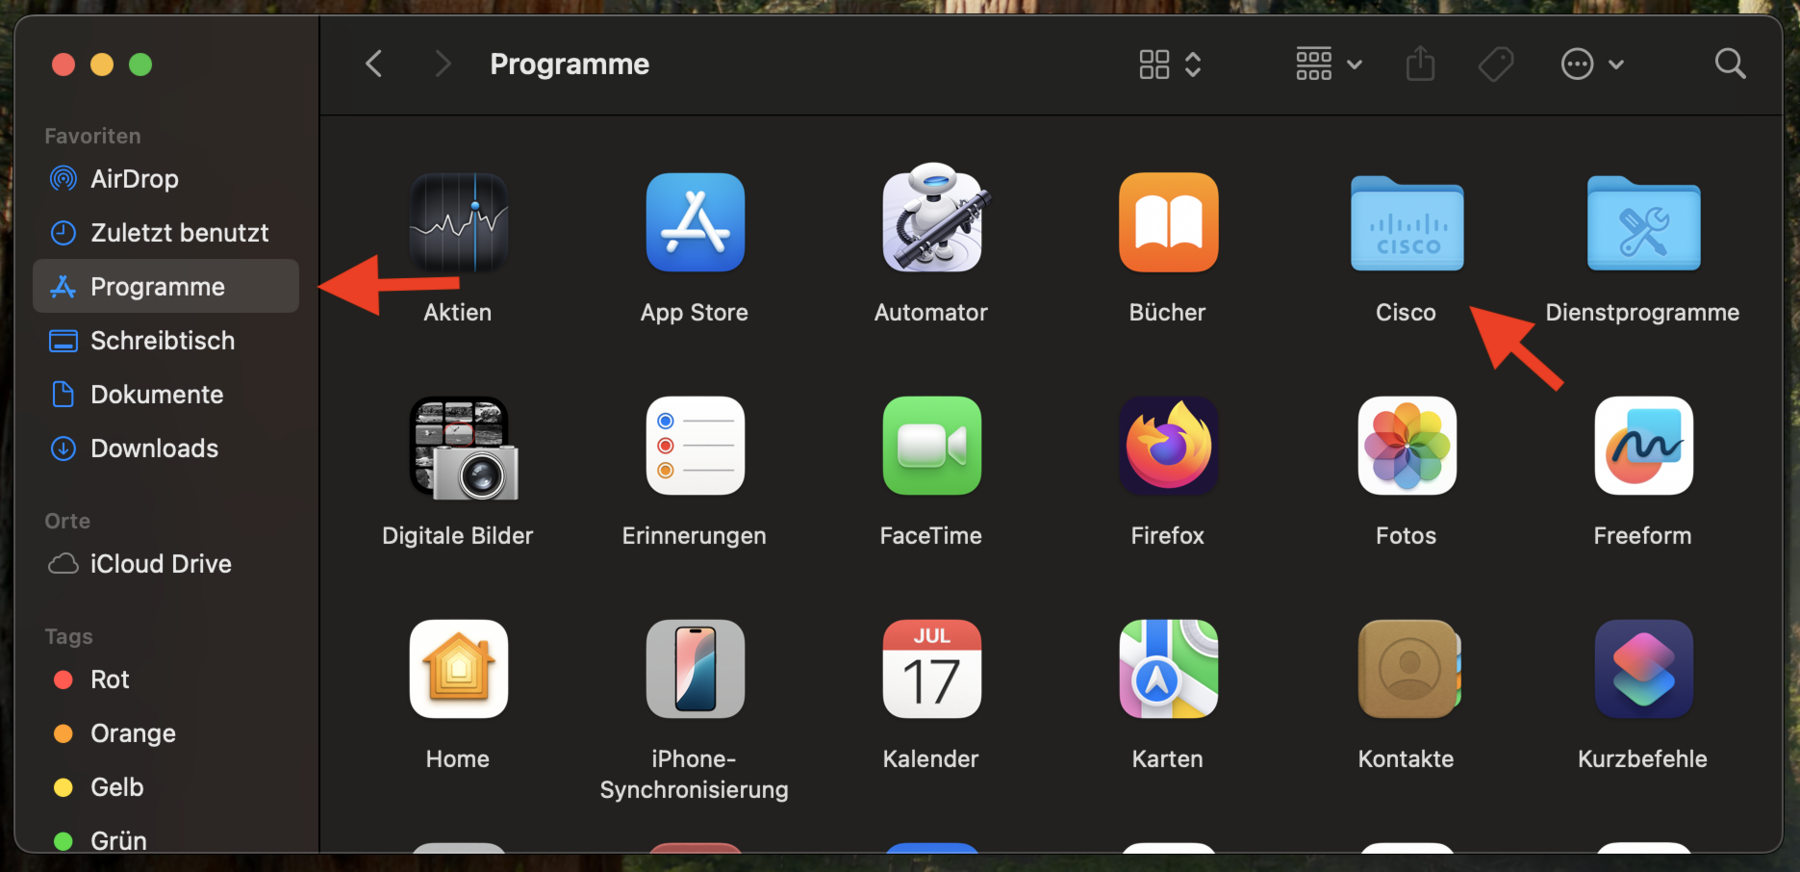
If an error message appears after installation, check under "Programs" (cmd + Spacebar → "Programs") to see if there is a folder named "Cisco."
If so, you can launch the program from there as usual.
If the problem persists, please contact the IT Service Center.
Go-Link of this page: https://www.uni-kassel.de/go/vpn-neuinstallation-mac