under Windows
The content on this page was translated automatically.
Currently, the Outlook app pre-installed with Windows 11 cannot yet access the University of Kassel's Exchange server, but only the Microsoft server. Therefore, when using the pre-installed app, you can only access your emails, but not your contacts or calendar. We therefore recommend that you do not use this pre-installed app for the university's email inbox.
If you use Office365 or Office 2016 or Outlook 2016/19 or 2024, it is necessary to adjust a registry value before setting it up. To do this, please follow the steps in the Set registry value instructions.
Contents
Office 365 setup
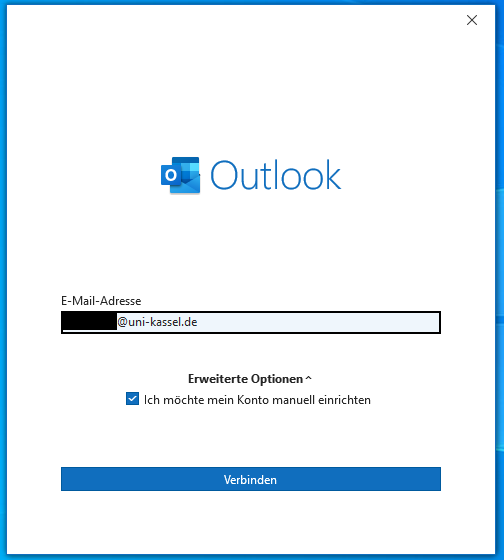
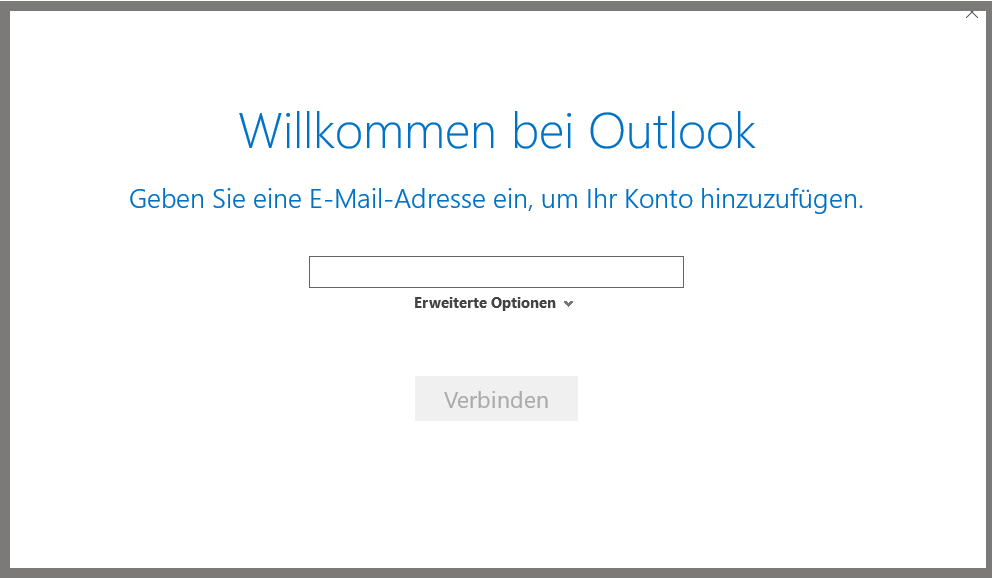
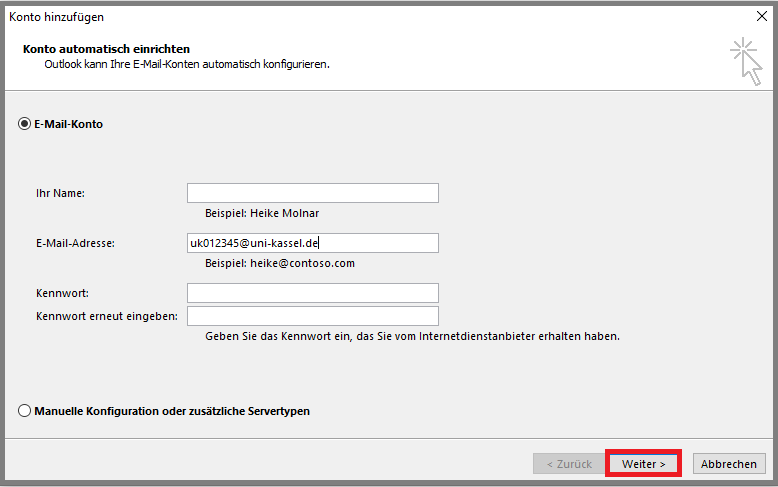
Open Outlook by double-clicking on it. Enter your e-mail address, e.g. < uk012345@uni-kassel.de >, in the window that appears.
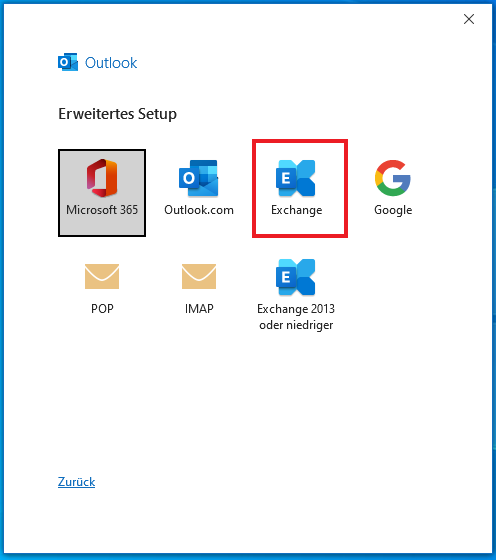
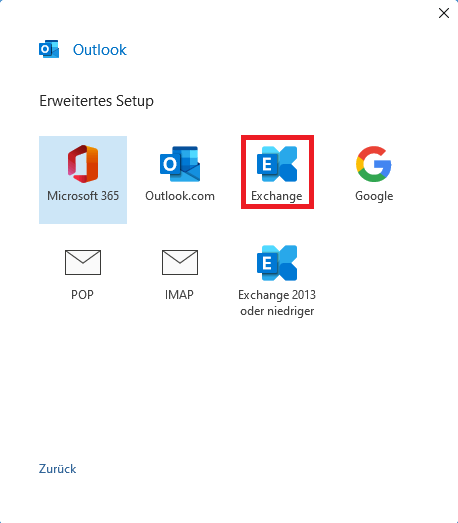
The mailbox can be integrated automatically or manually. If you integrate it manually, select "Exchange".
This step should not occur with automatic integration.
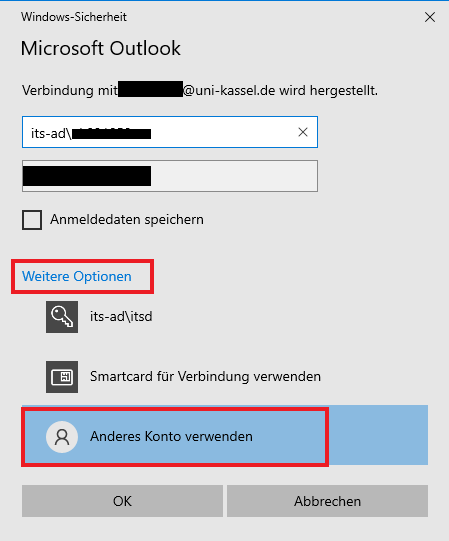
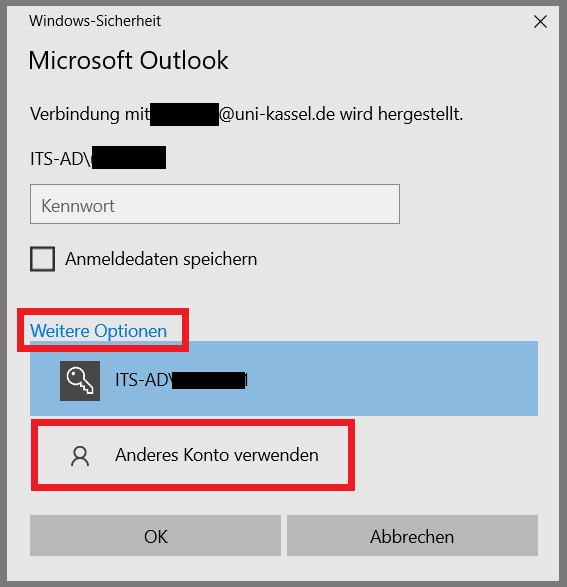
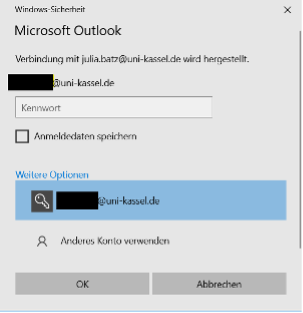
Then select "Other account". In the "User name" field, enter < its-ad\ > followed by your UniAccount. Then enter your password. This step may need to be repeated.
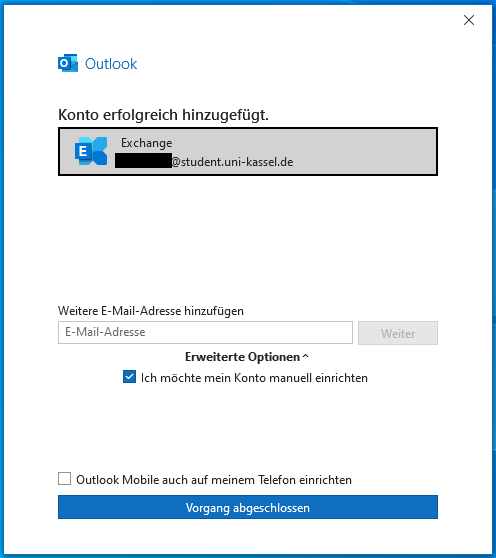
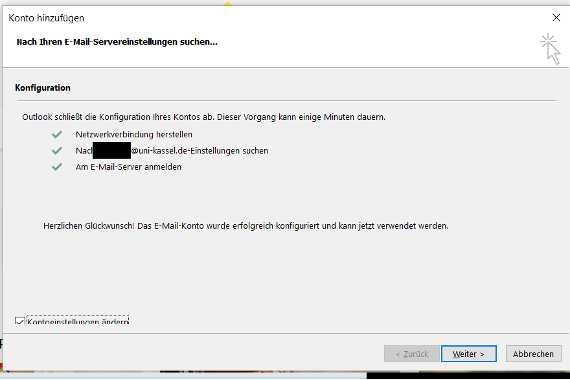
Finally, the message that the account setup is complete will appear and Outlook will open with your account.
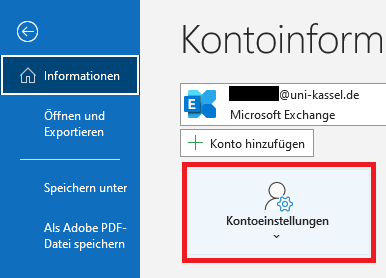
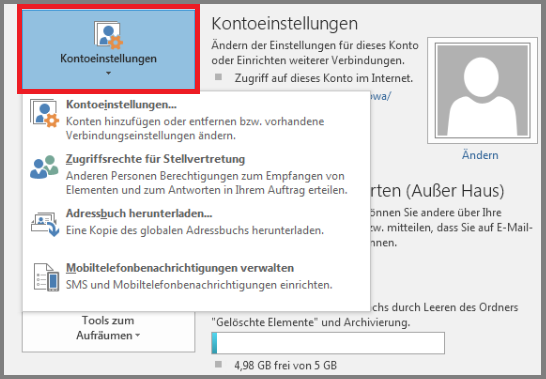
Next, the account settings must be adjusted. To do this, go to "File", select "Account settings" and click on "Account settings" again in the drop-down menu.
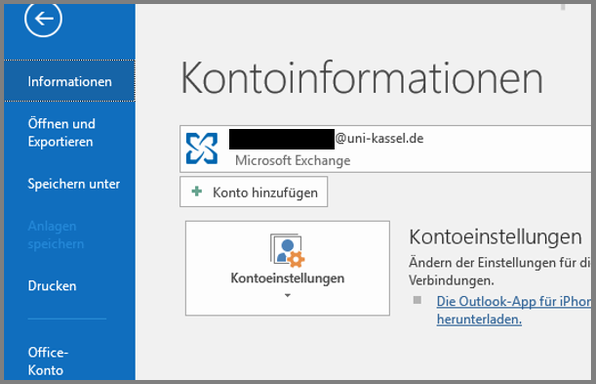
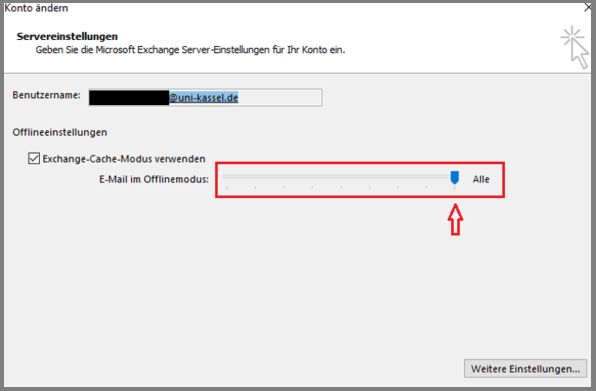
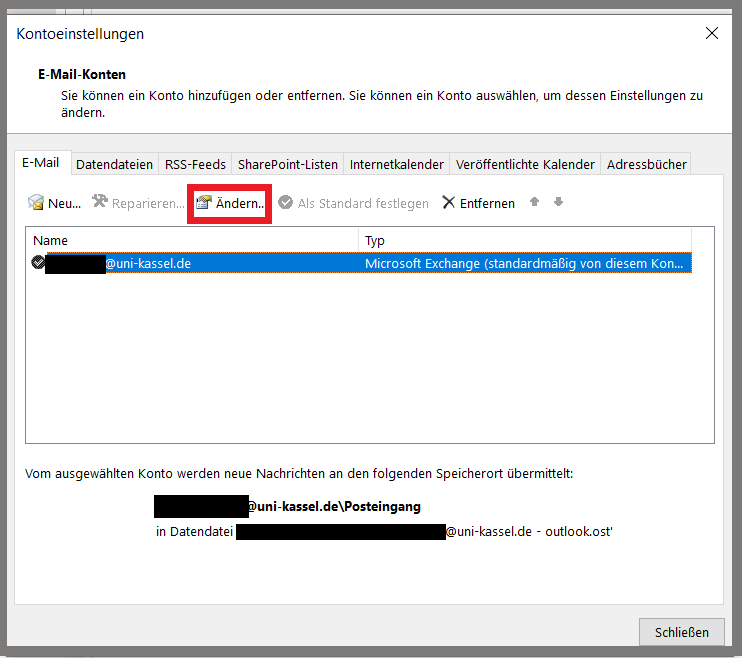
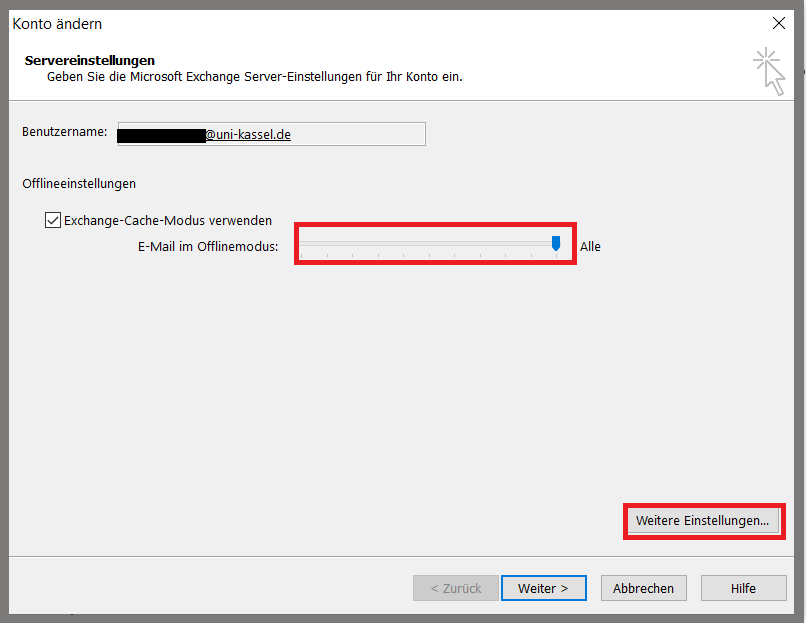
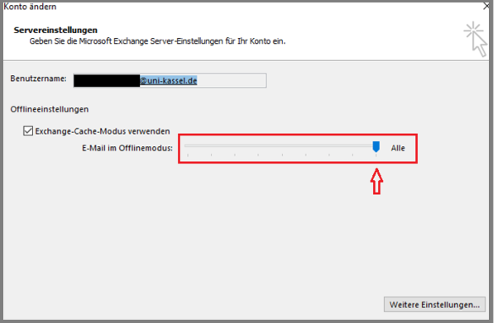
Select your account and click on "Change...". Then drag the "Email in offline mode" slider all the way to the right towards "All". Finally, click on "More settings...".
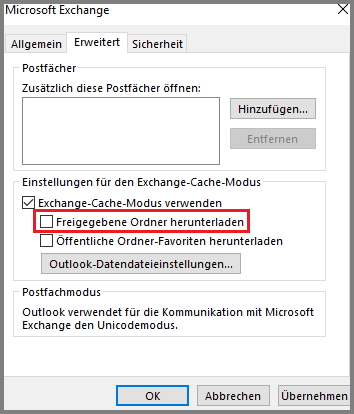
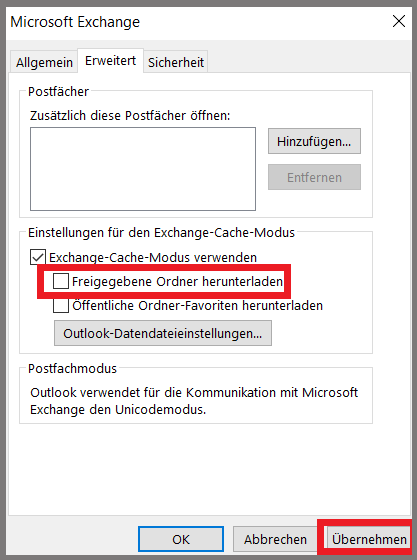
Remove the checkmark next to "Download shared folders". Finally, confirm all open windows and restart Outlook.
Initial setup Outlook 2024
Open Outlook by double-clicking on it. Enter your e-mail address in the window that appears (e.g. ukxxxxxx@uni-kassel.de).

The mailbox can be integrated automatically or manually. If you integrate it manually, select "Exchange".
This step should not occur with automatic integration.
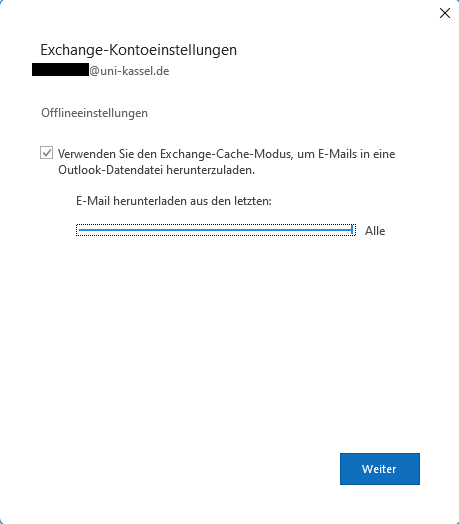
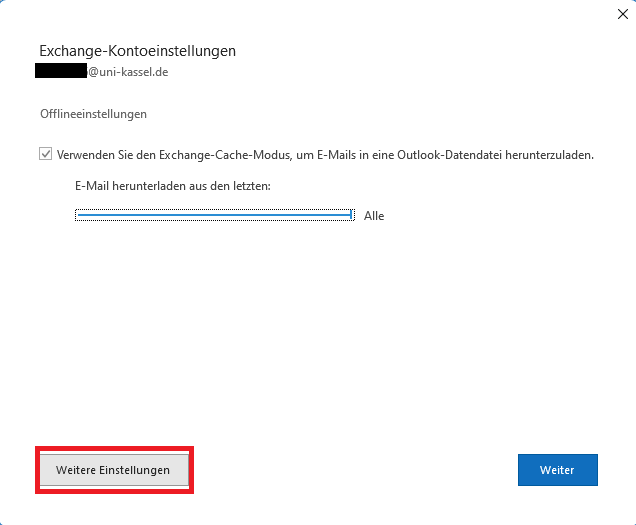
Another window opens. Move the "Download email from the last:" slider displayed here to the far right to "All".
Then click on "Next".
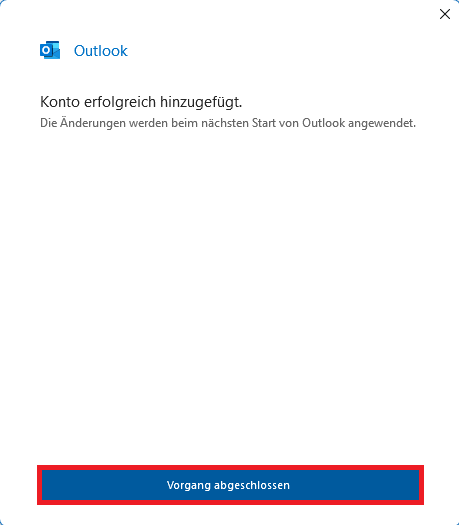
The next window that appears confirms that the account has been successfully added. Then please restart Outlook.
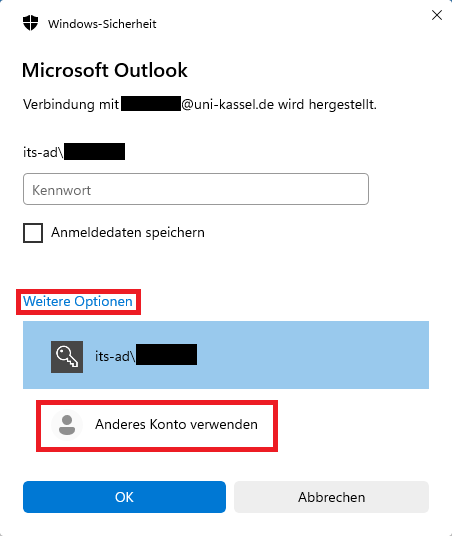
When you restart Outlook, you will be asked to log in. Select the "Use another account" button under "More options". Enter >its-ad\< followed by your UniAccount in the "User name" field. Enter the corresponding password in the field below. Finally, click on "OK". This step may need to be repeated.
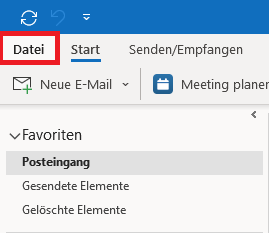
The next step is to adjust an account setting. To do this, click on "File" in the top left-hand corner of Outlook. Then select "Account settings" and click on "Account settings" again in the drop-down menu that opens.
Select your account in the window that opens and click on "Change...". Another window will open. Move the slider to the far right towards "All". Then click on "Further settings".
Go to the "Advanced" tab. Remove the checkmark next to "Download shared folders". Then confirm all open windows and restart Outlook.

Initial setup Outlook 2019
Note on the use of Outlook 2019
When using Outlook 2019, you are required to log in with a Microsoft account. You can set up a Microsoft account via the Microsoft Campus license. You can then log in with the email address set as preferred in IDM and the password for the Microsoft account (not the UniAccount password!).
Using Office 2019 by logging in with a Microsoft account is only possible on one end device. If you want to use Office on multiple devices, please use the Office 365 Campus license.
Double-click to open Outlook. A window will open. Enter your e-mail address here and then click on "Next".
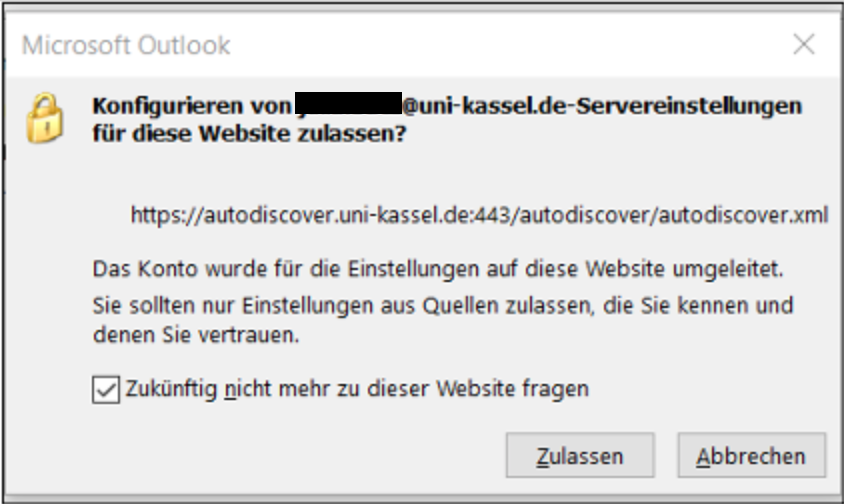
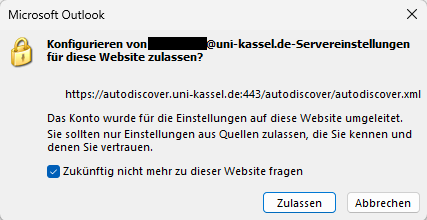
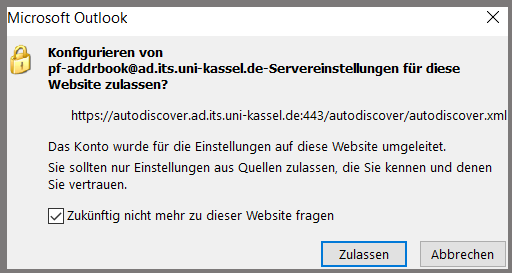
The following message then appears. Check the box "Do not ask about this website in the future" and then click on "Allow".
In the subsequent password prompt, click on "More options" and then on "Use another account". Enter <ITS\> followed by your UniAccount in the "Username" field. This step may need to be repeated.
A message then appears stating that the mailbox has been successfully integrated. Confirm this with "OK".
Then open Outlook and navigate to "Account settings" via "File" at the top left.
Select the "Change" option for the integrated mailbox.
Drag the "Email in offline mode" slider all the way to the right towards "All". Then click on "Further settings...".
Click on the "Advanced" tab. Remove the checkmark next to "Download shared folders". Finally, confirm all open windows and restart Outlook.
If the message on the right appears, check the box "Do not ask me about this website in the future" and then click on "Allow".
Initial setup Outlook 2016
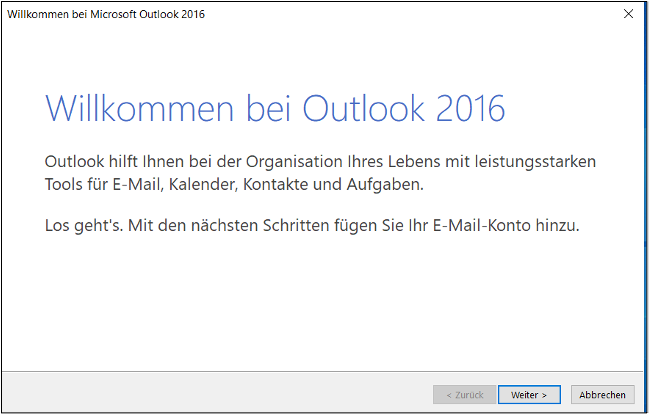
Open Outlook by double-clicking on it. A window will appear in which you click on "Next".
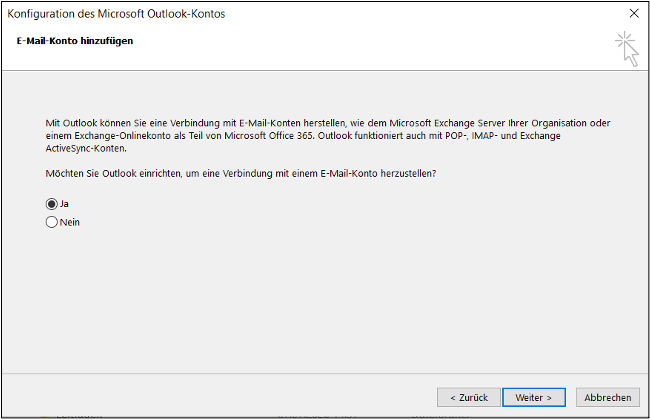
The following window then appears. Click on "Next" here as well.
In the following window, please click on "More options" and then on "Use another account". Now enter <its-ad\ > followed by your UniAccount in the "Username" field. Then enter your password. This step may need to be repeated.
The following window will then appear. Check the box "Change account settings" and click on "Next".
Drag the "Email in offline mode" slider all the way to the right towards "All". Then click on "Further settings...".
Enter your e-mail address in the next window under "E-mail address", e.g. < uk012345@uni-kassel.de >. The remaining fields can be left blank. Then click on "Next".
The following message then appears. Check the box "Do not ask about this website in the future" and then click on "Allow".
Click on the "Advanced" tab. Remove the checkmark next to "Download shared folders". Finally, confirm all open windows and restart Outlook.

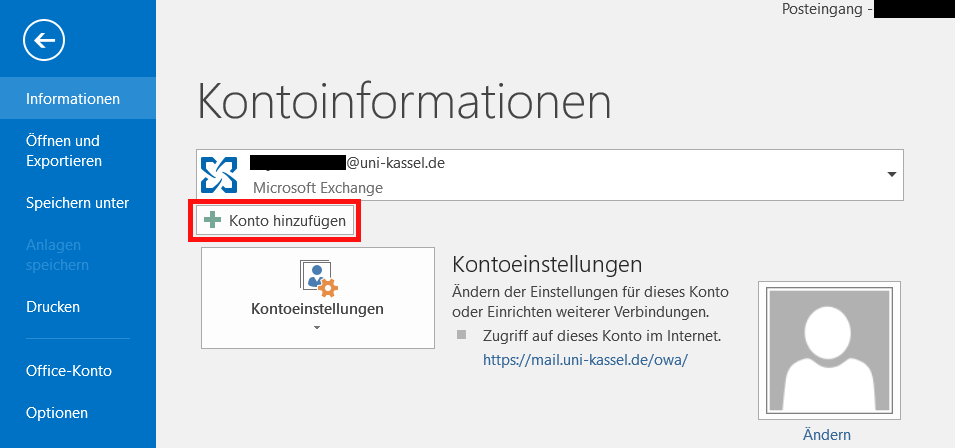
Adding further accounts
If you want to add another primary or secondary account, you must go to "File" and then select "Add account".
Enter your name, your e-mail address (e.g. uk012345@uni-kassel.de) and your password and click "Next".
When prompted, enter your password again and then select "OK" and "Finish" to add your e-mail account.
If you would like to set up a group mailbox, please refer to Group mailboxes.

Go-Link for this page: https://www.uni-kassel.de/go/mail-outlook-windows